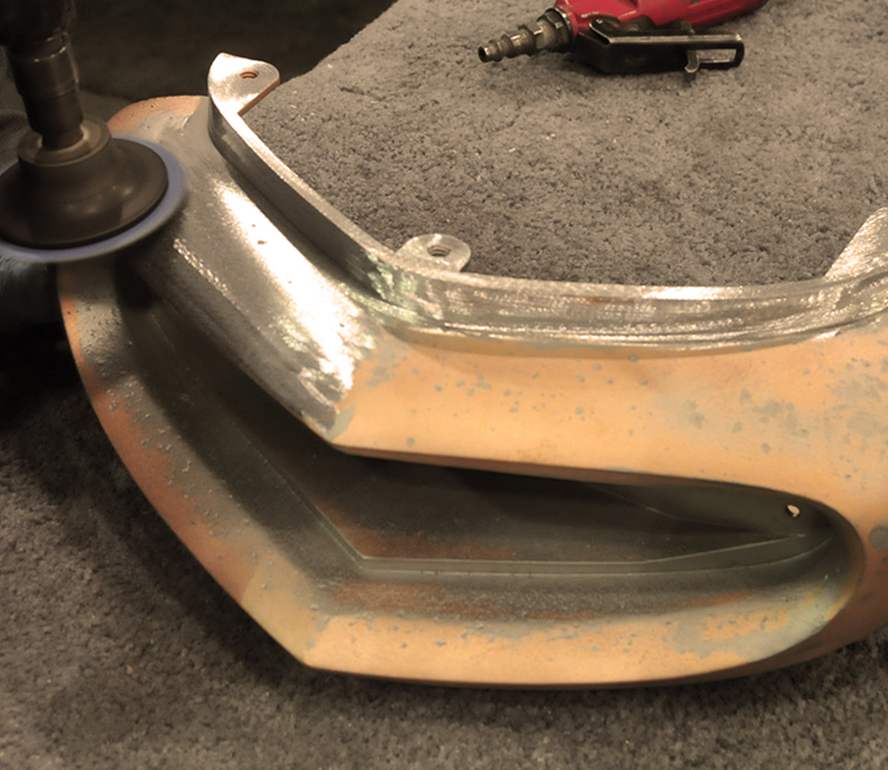
POT METAL
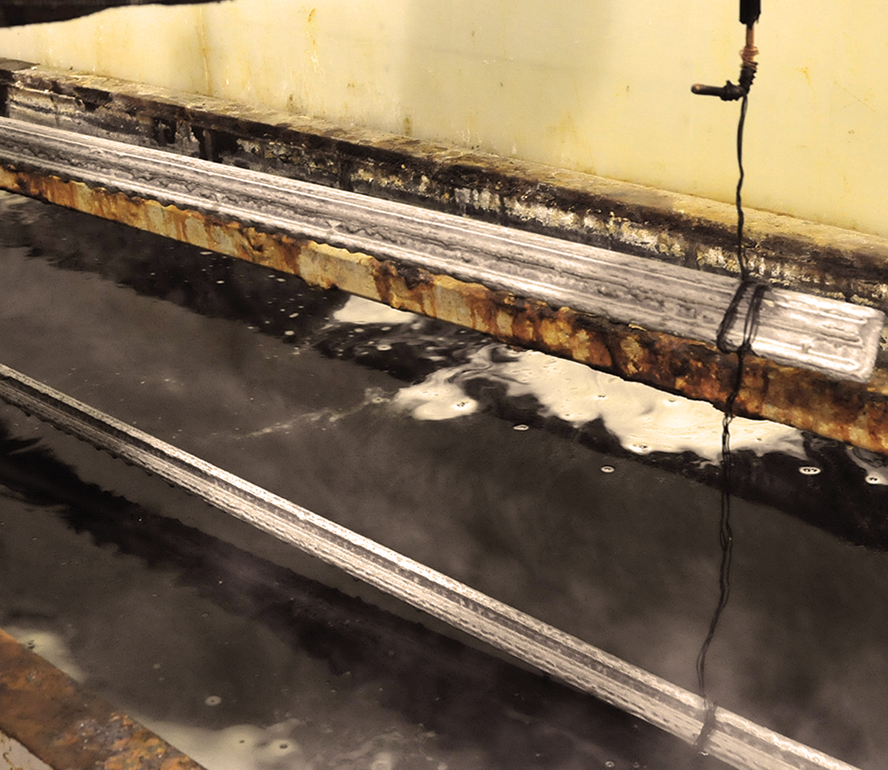
We must electro-strip the part to bare metal
using sulfuric acid.
After electro-stripping, we will also glassbead blast the parts, front and back, for a
clean starting surface.
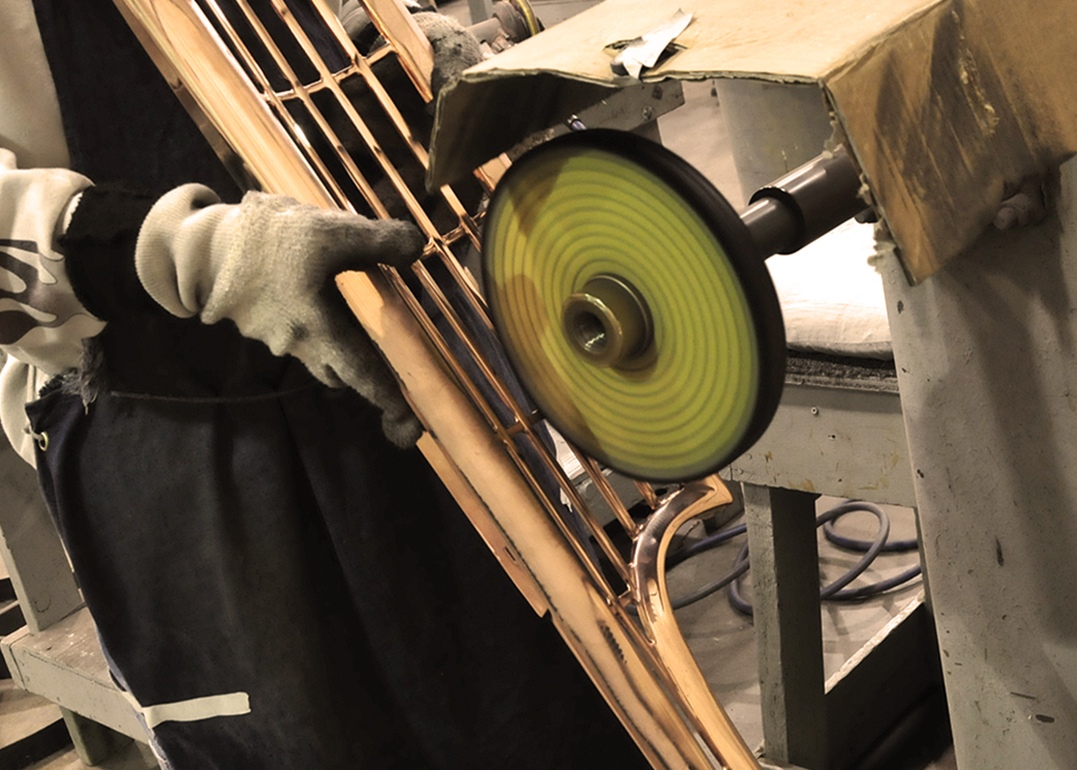
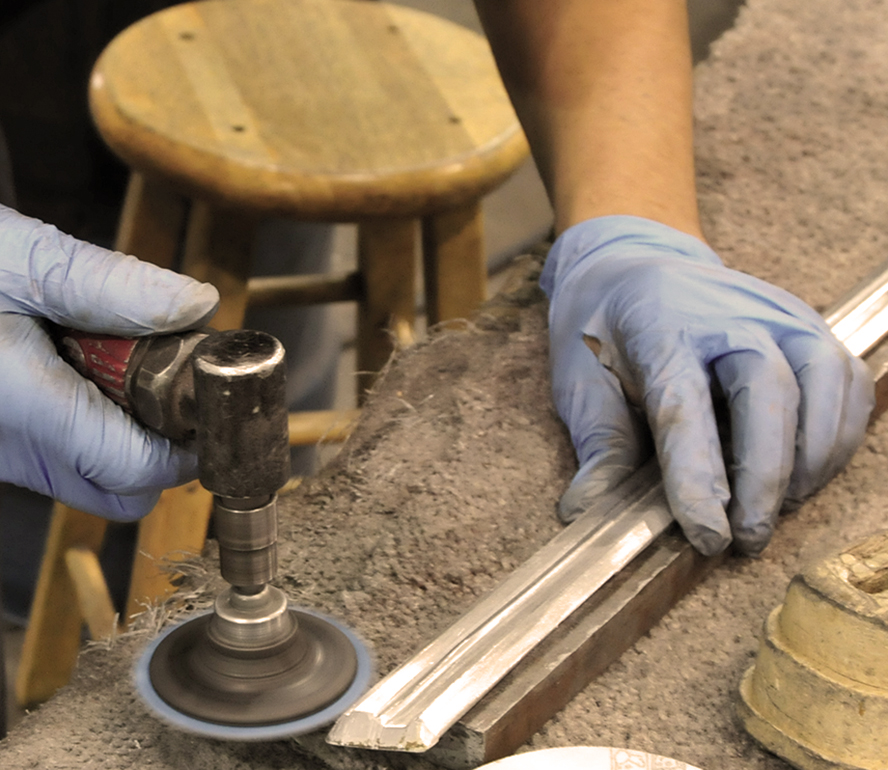
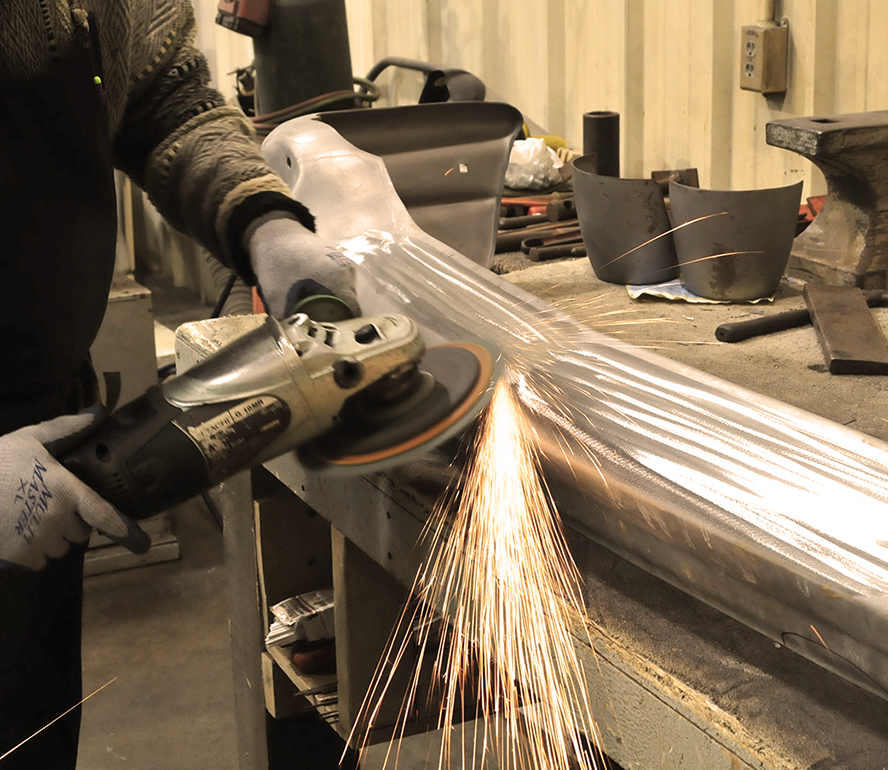
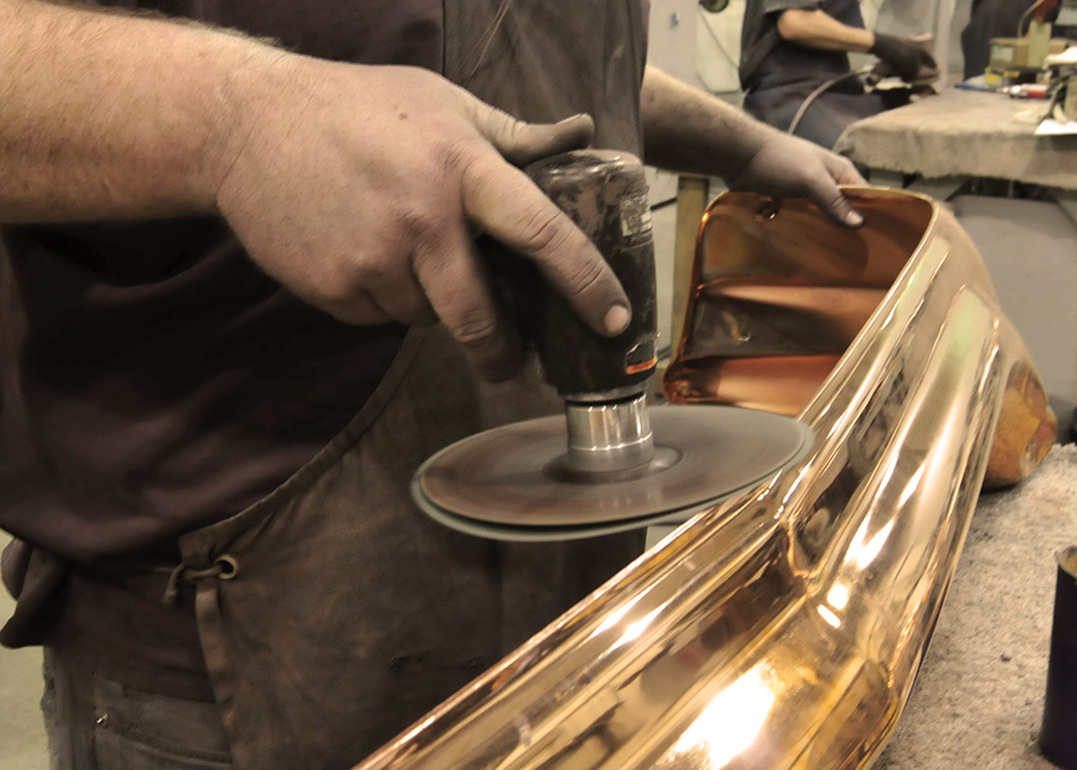
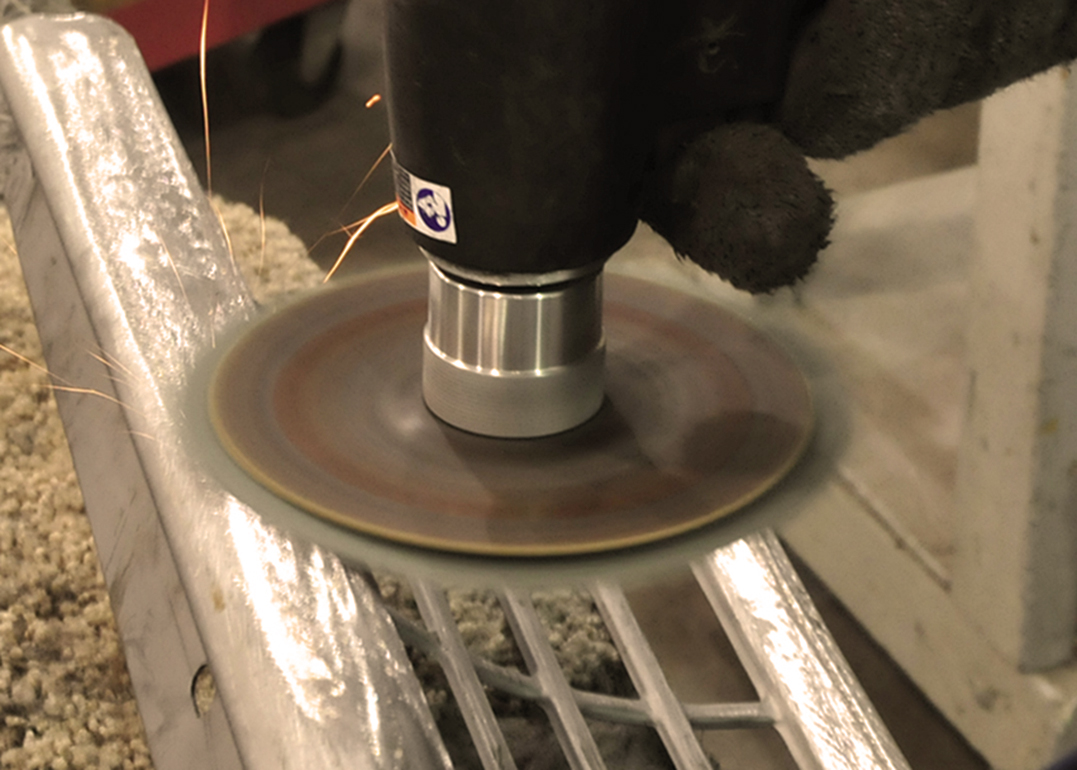
When dealing with pot metal, the first issue to
address is pitting.
The polisher does so by using a small grinderon the surface to remove as much pitting and
dead metal as possible.
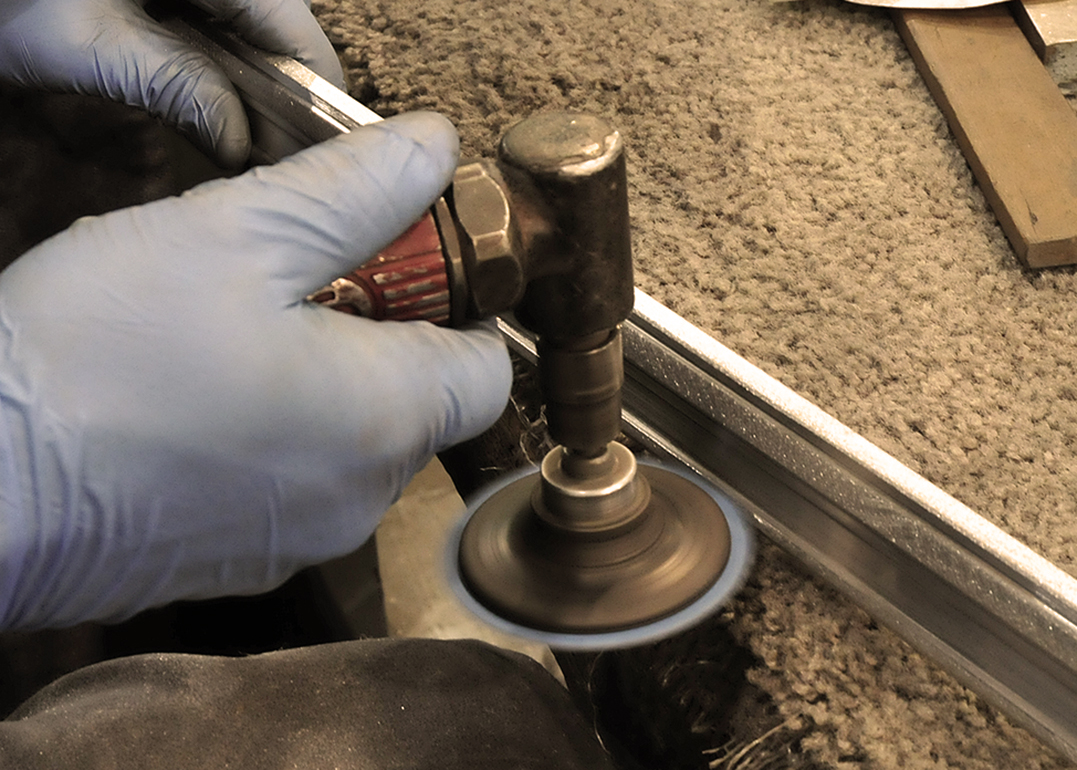
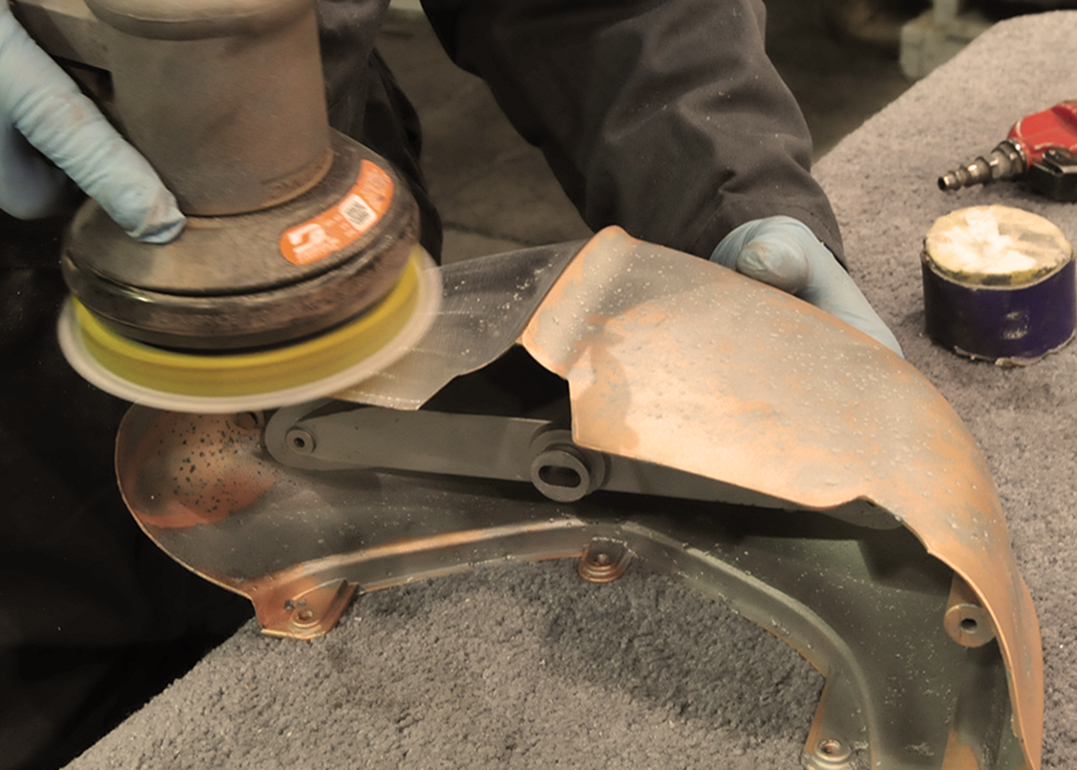
Once the surface had been ground as far
as safely possible
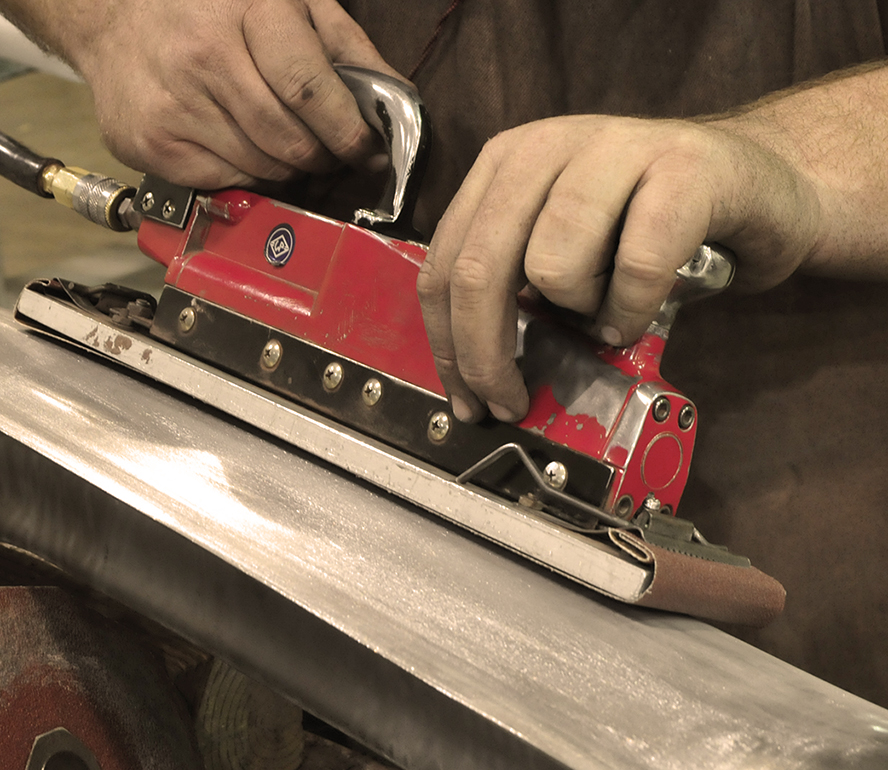
the visible areas of the part were DAsanded to a smoother finish.
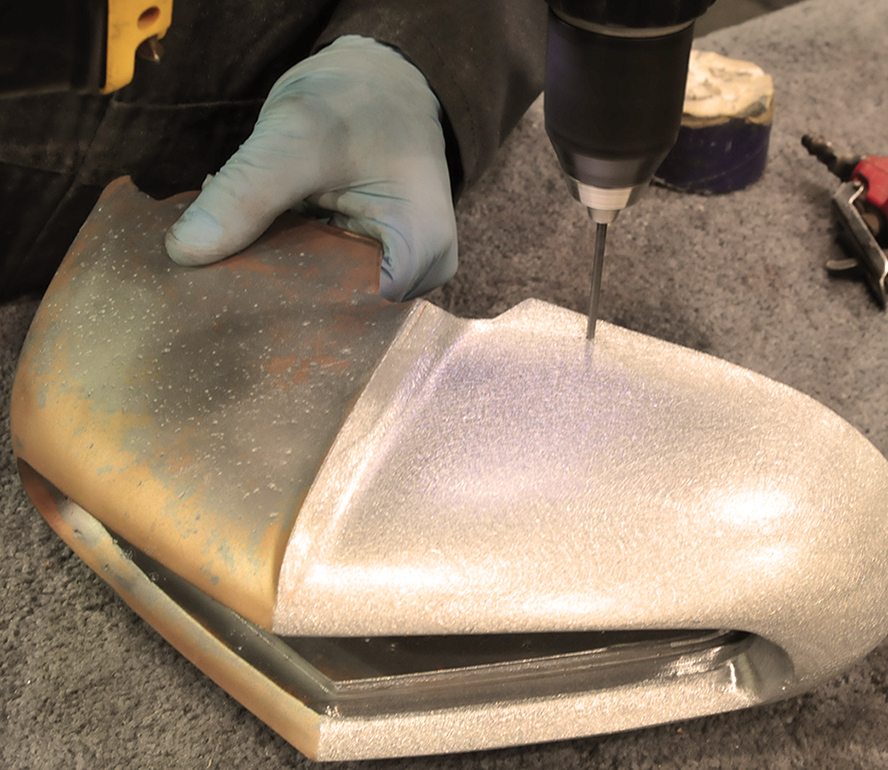
After all of the sanding was completed, any remaining pits were
drilled to remove dead metal
In some instances the spots were completely drilled out, whilethey were simply dimpled out in others.
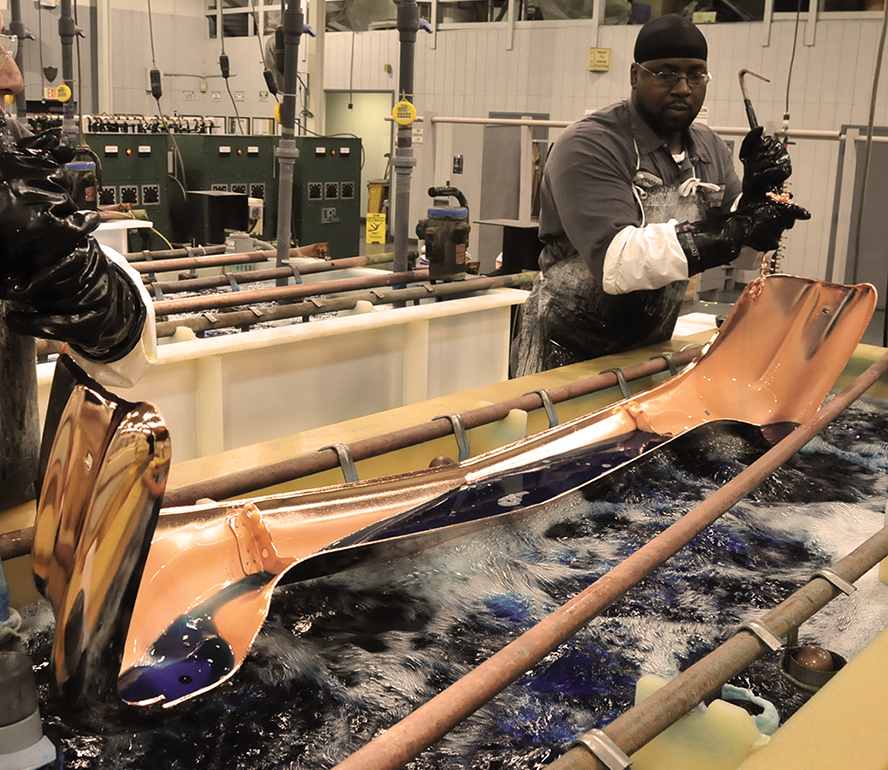
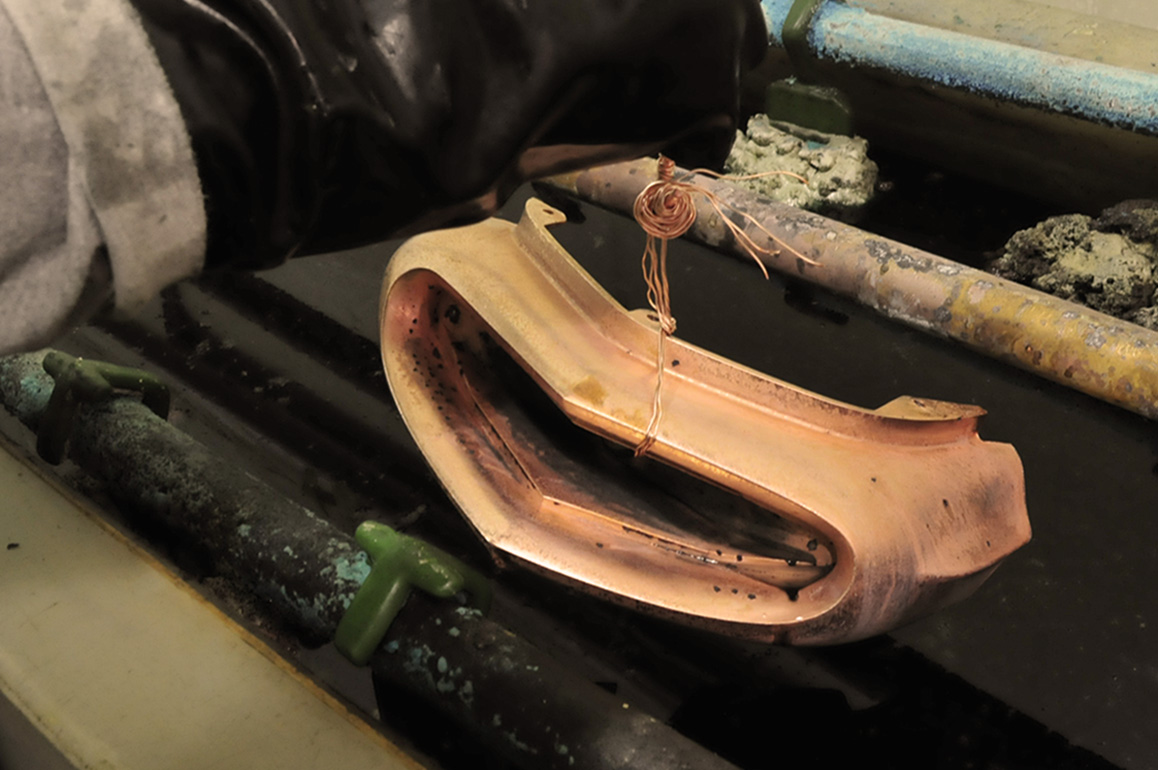
Before any repairs are made to the pits, the part is
ran cyanide copper
to seal up the pot metal. This thin deposit notonly seals up the part, it also promotes
adhesion for repairs.
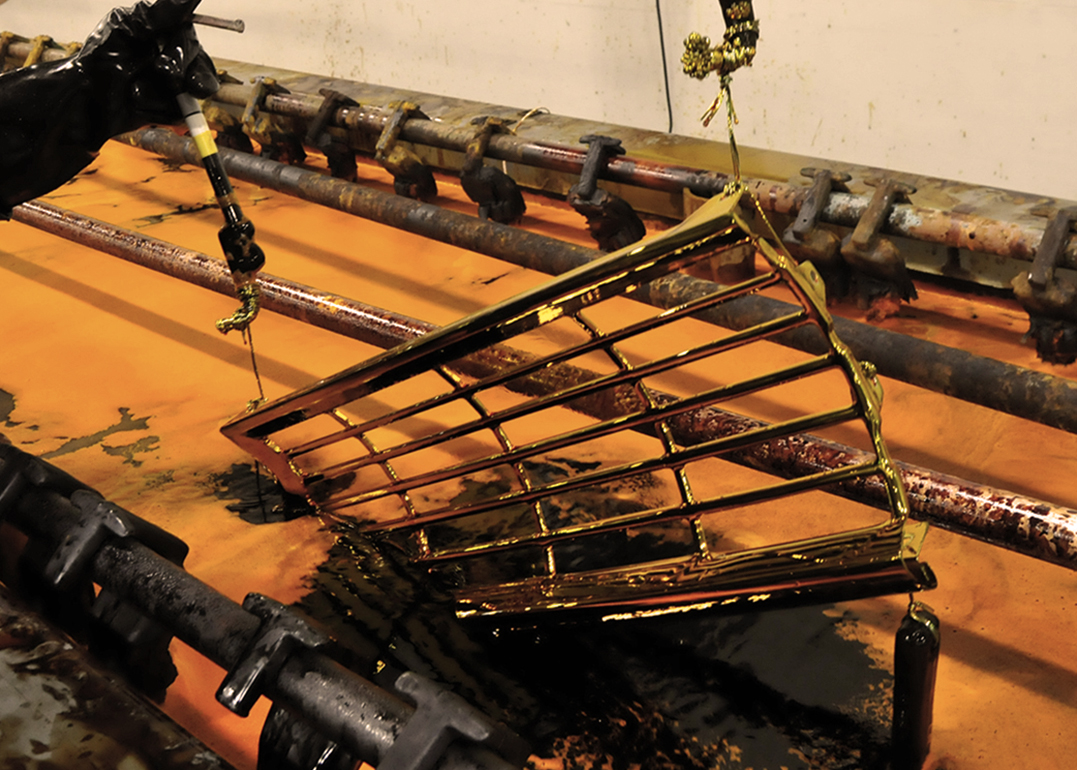
Now that the pot metal has been successfully
sealed up in cyanide
copper the polisher uses solder to fillany of the pits that were drilled or dimpled out.
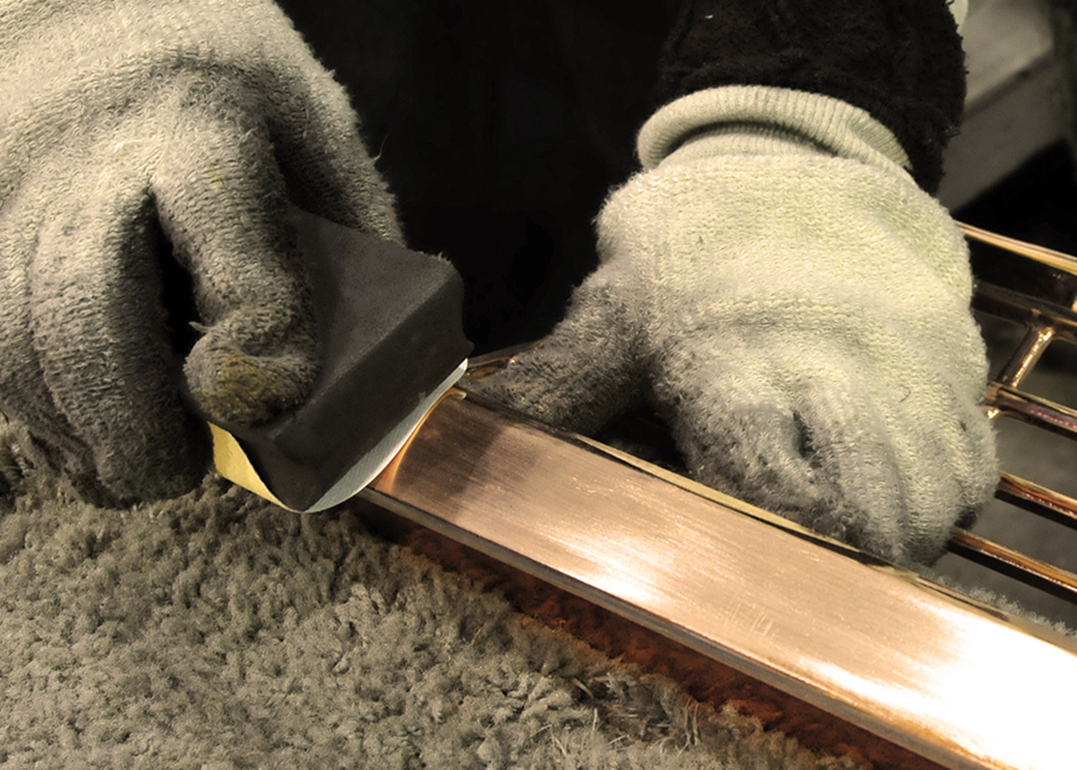
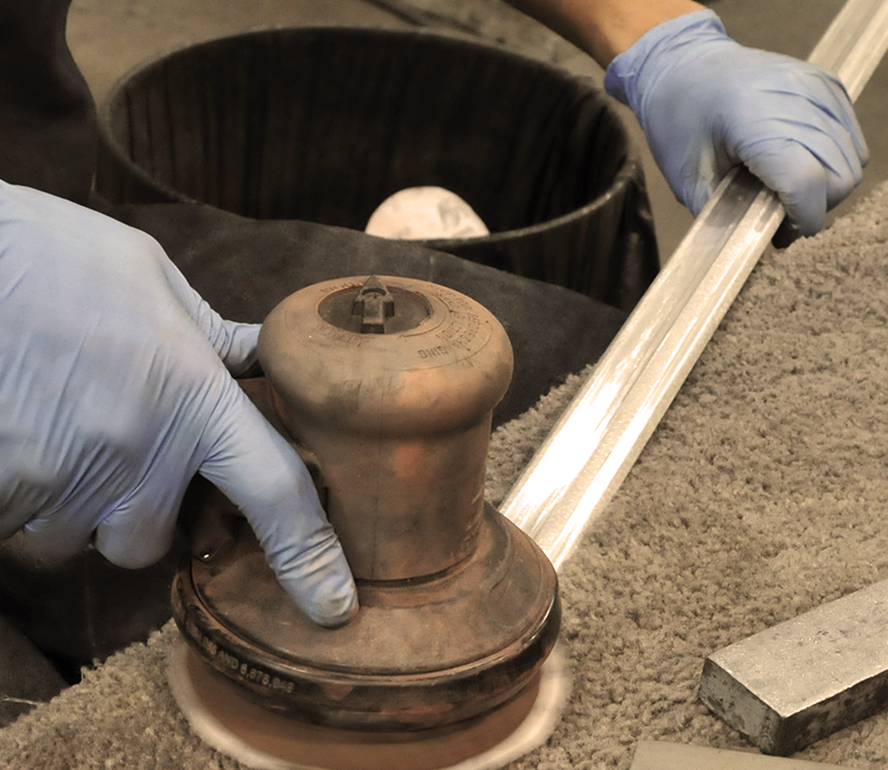
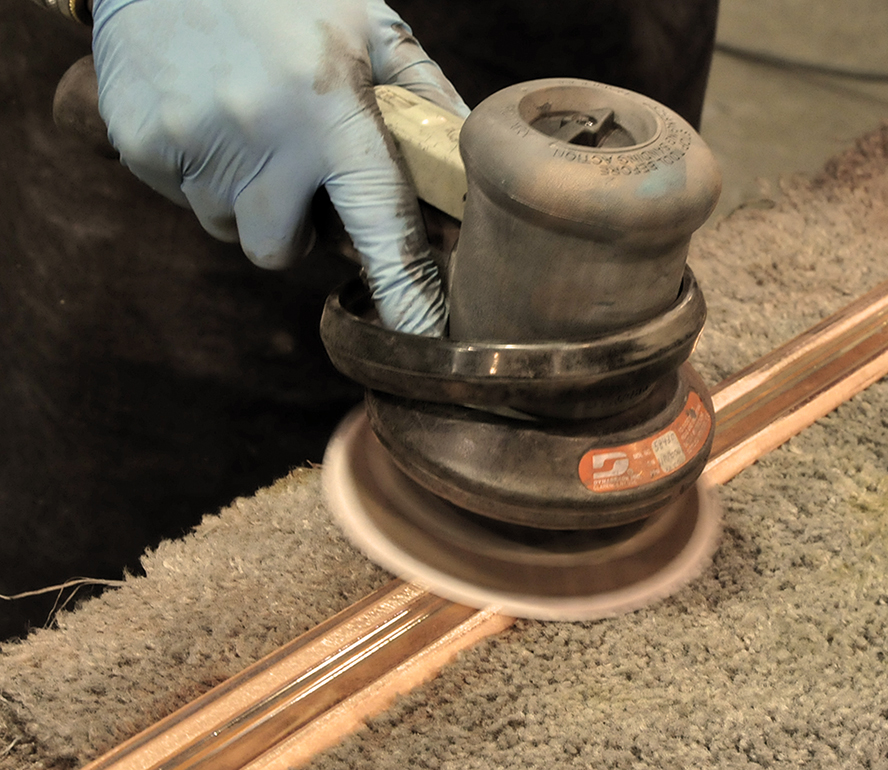
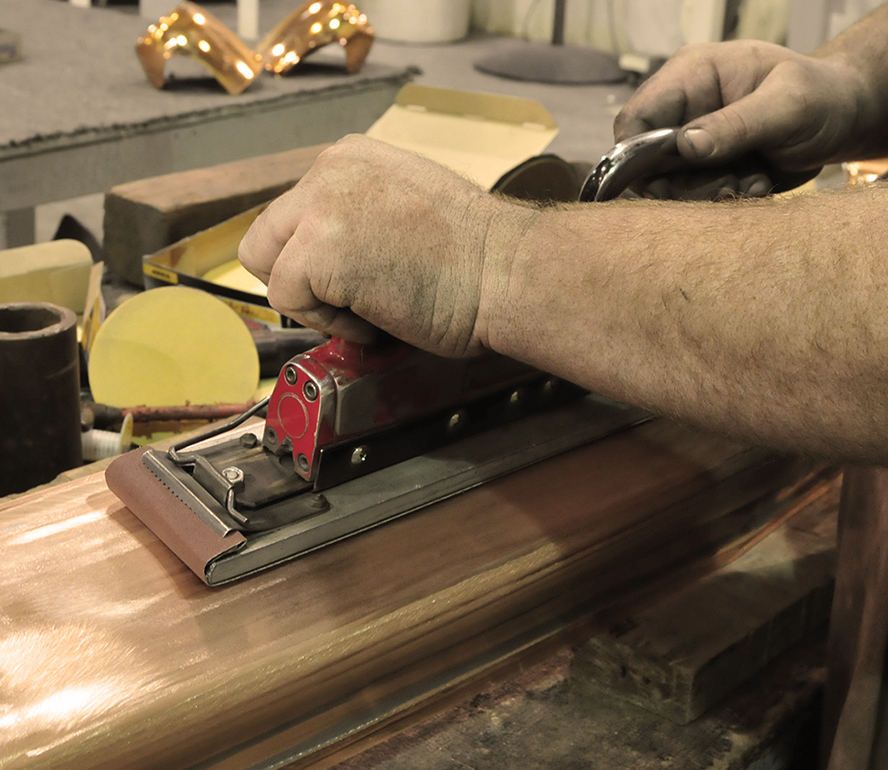
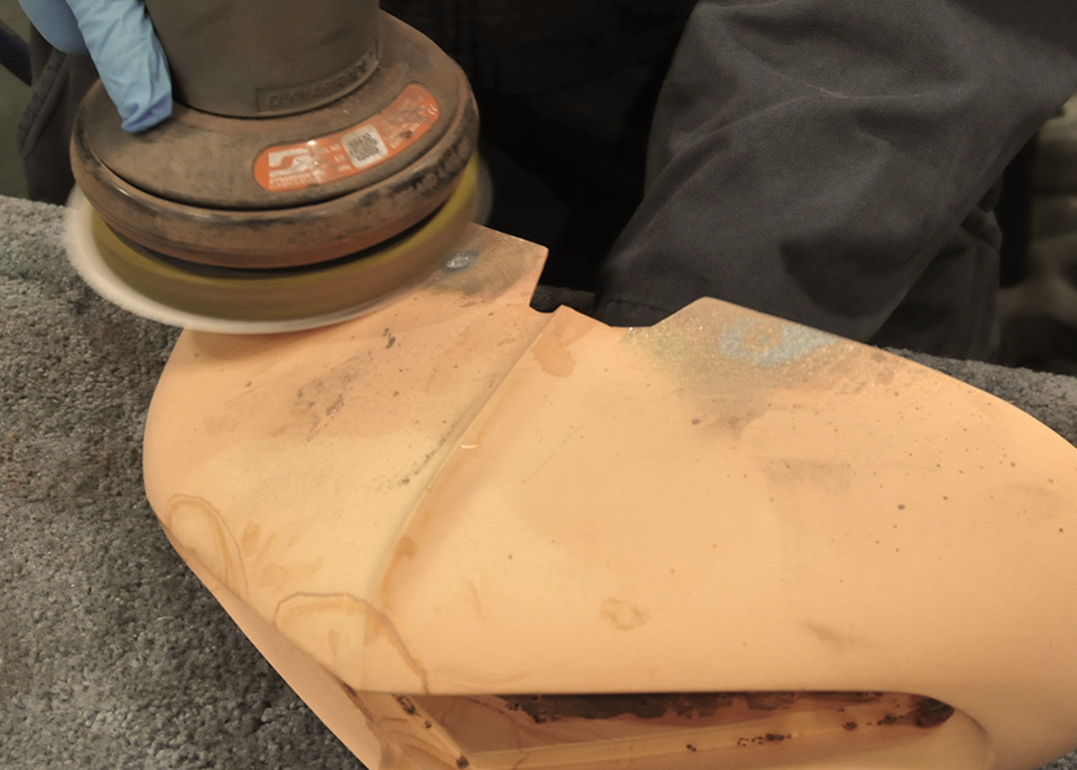
The next step involves DA sanding the solder to
the same plane as
the parts surface. Once that is completed, thepart is ready for acid copper, which is a higher
build process.
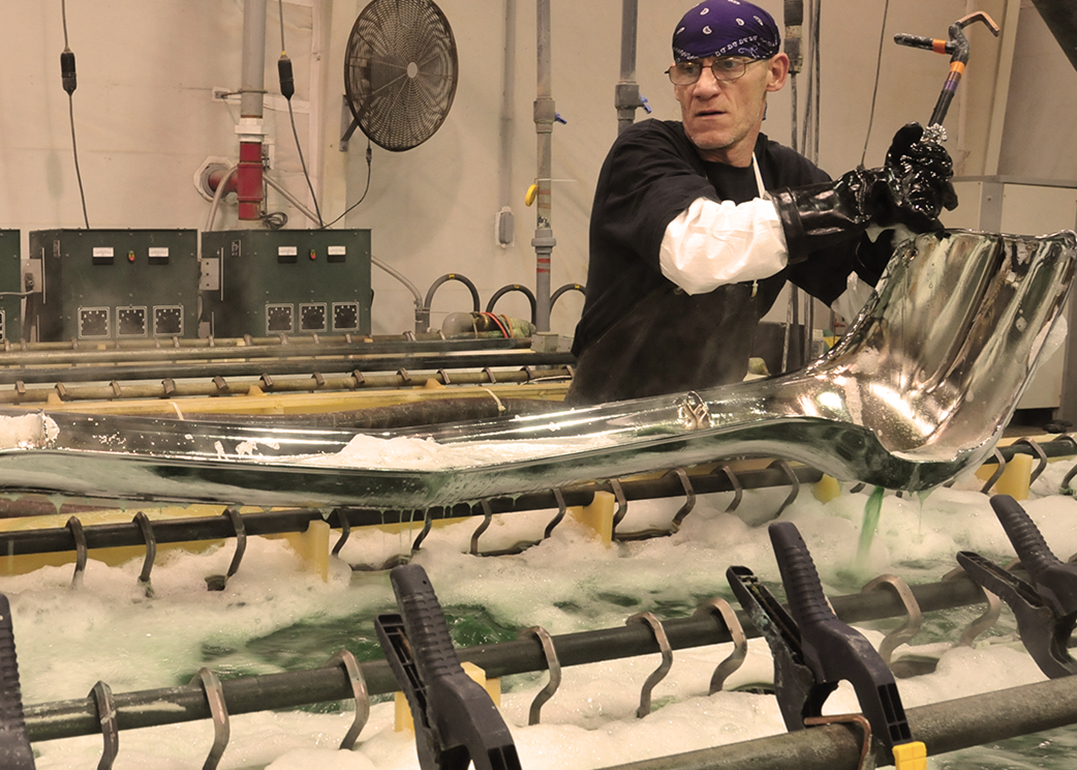
The parts were hand racked, cleaned in a caustic bath, and placed in the acid copper tank for the appropriate time. Now the copper is used to
smooth out the part and remove any minor imperfections.
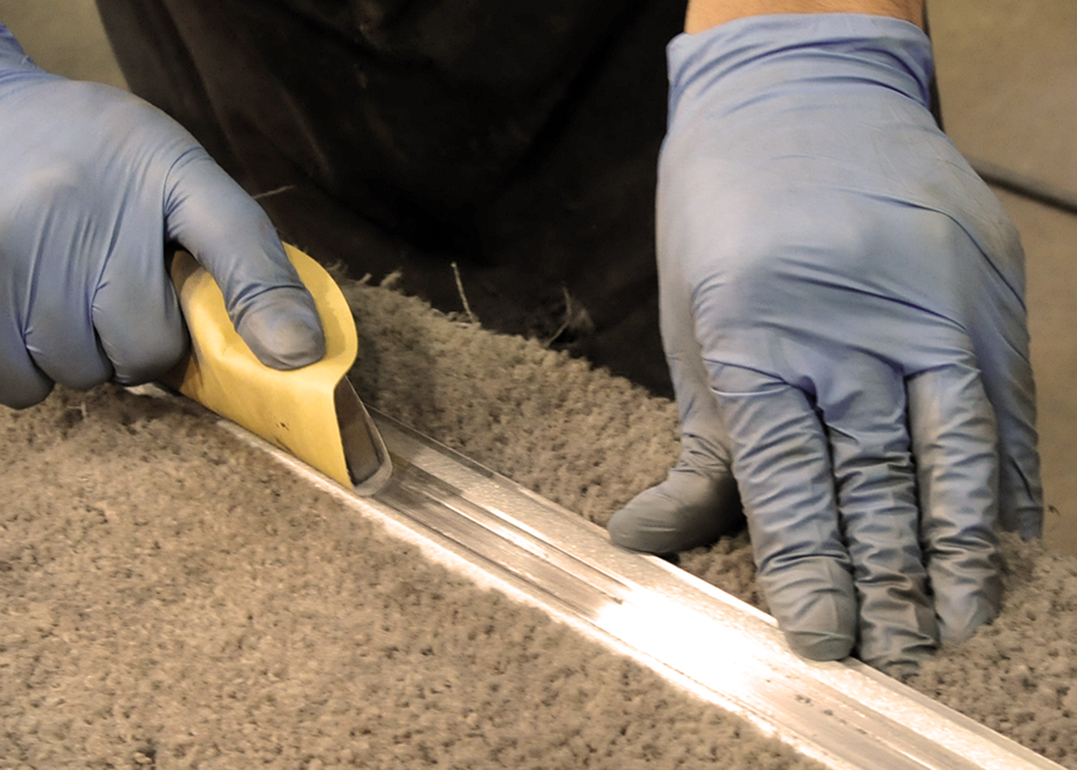
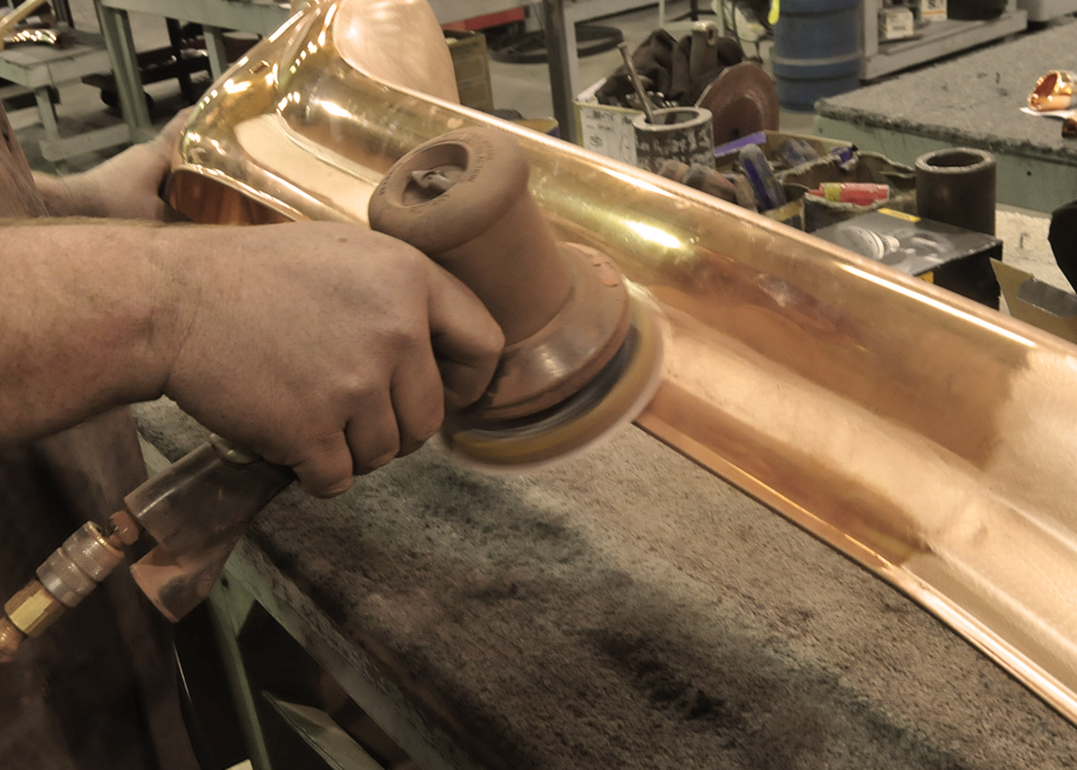
DA sanding is now performed to level out the surface in
preparation for nickel
and chrome. If any small imperfections remain, the parts will be ran acid copper again.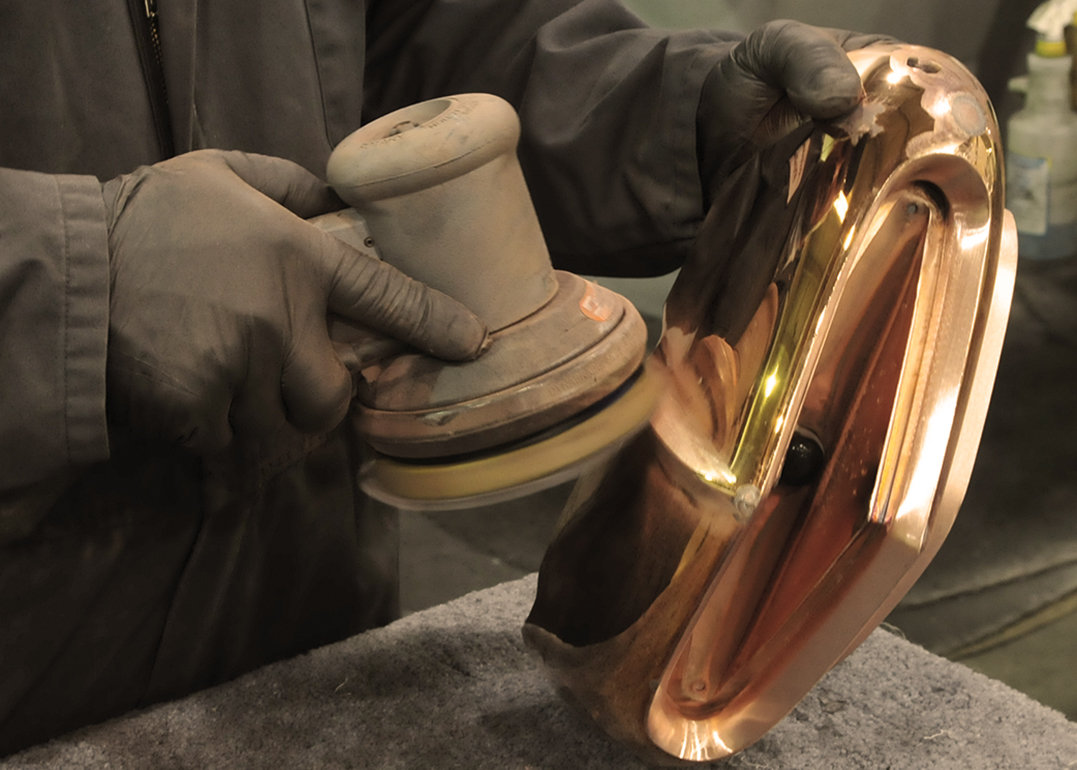
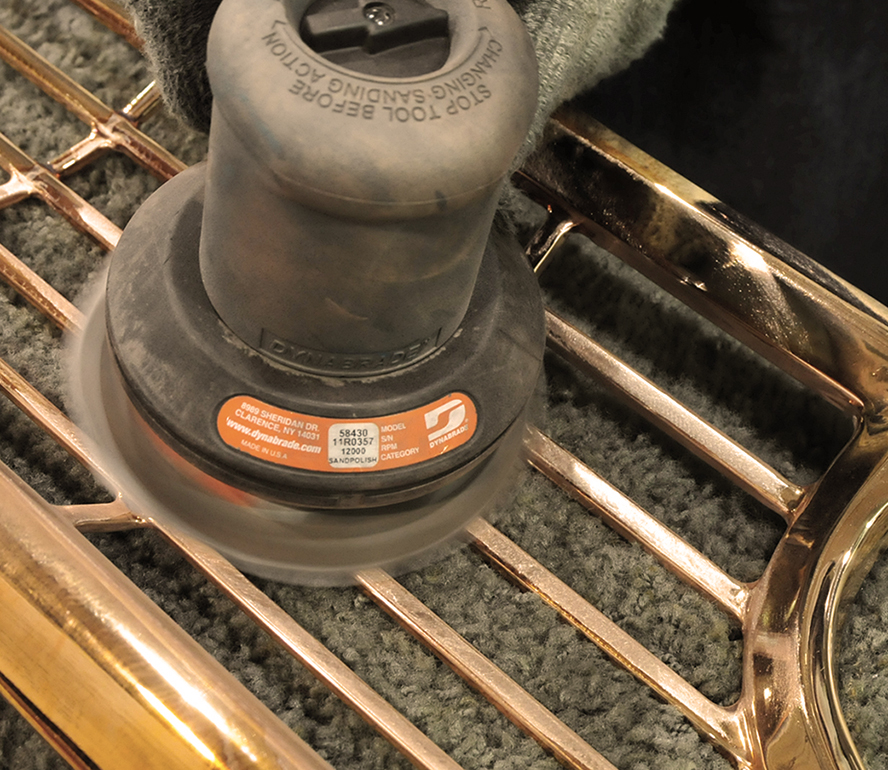
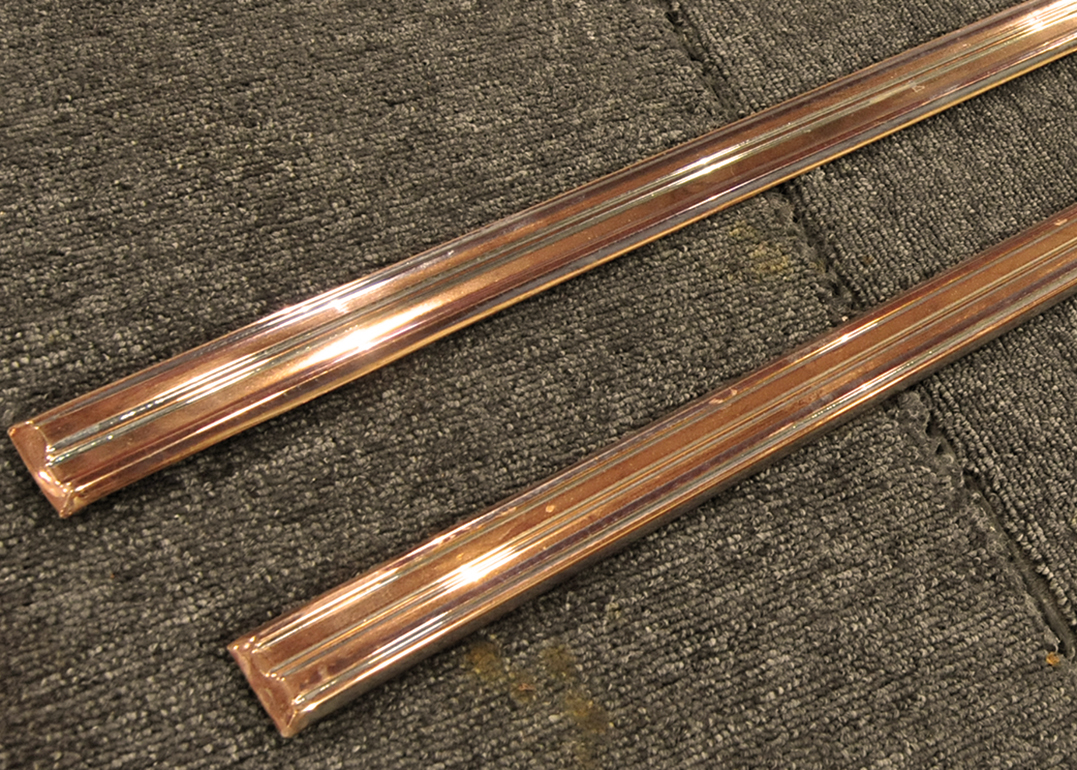
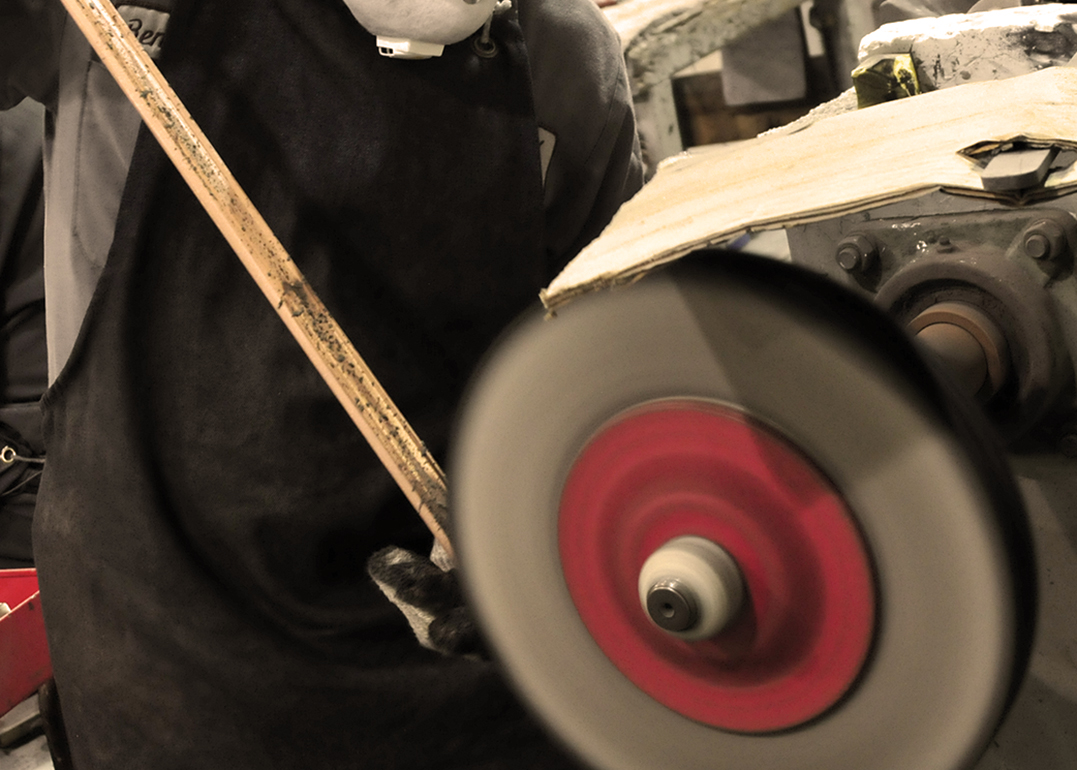
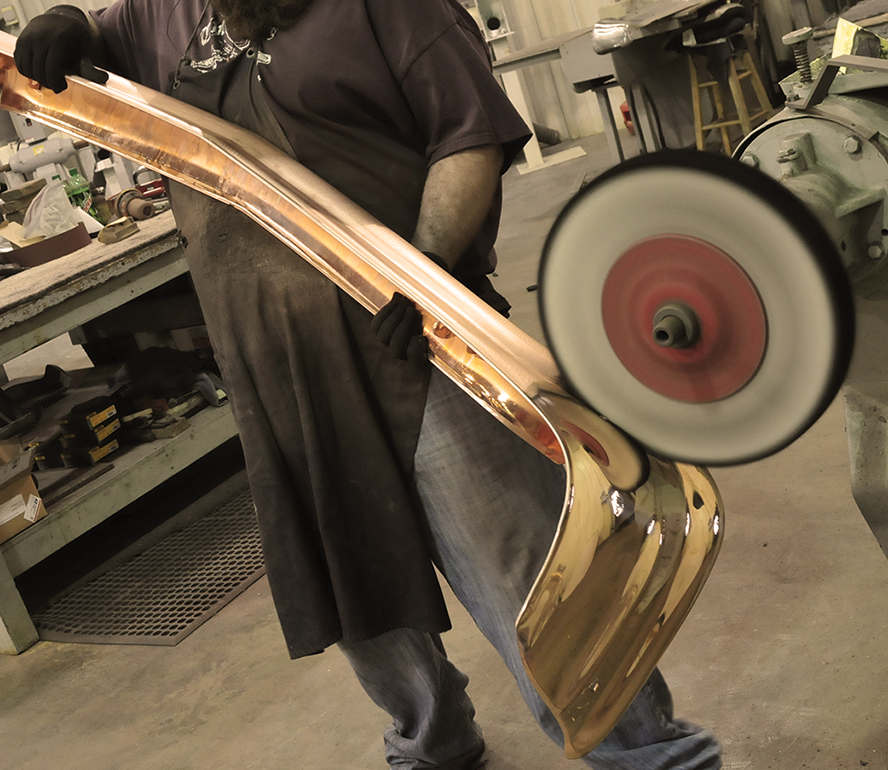
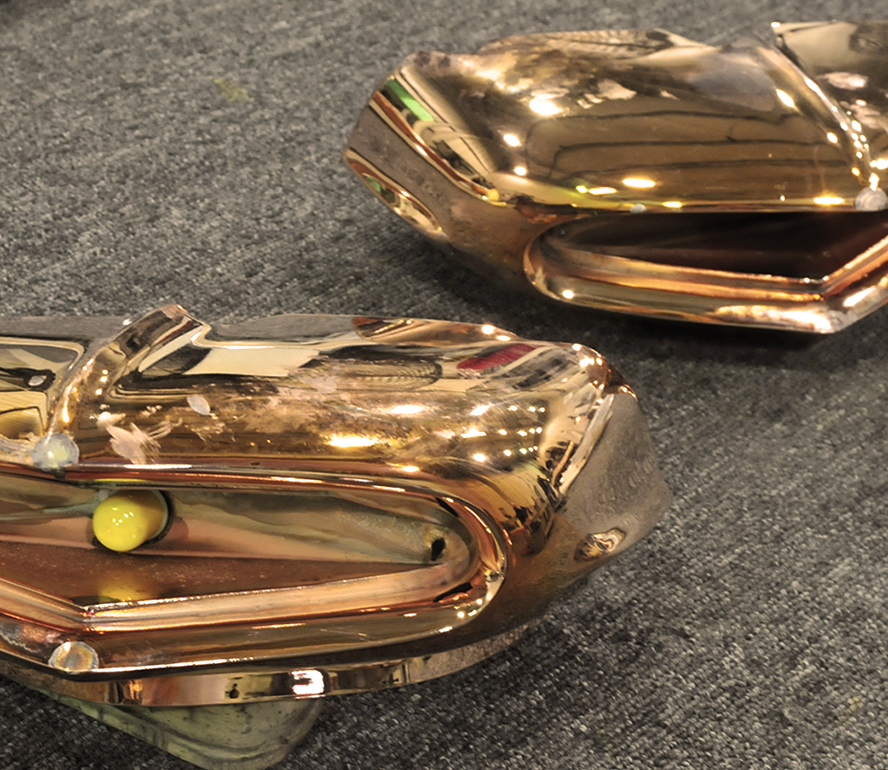
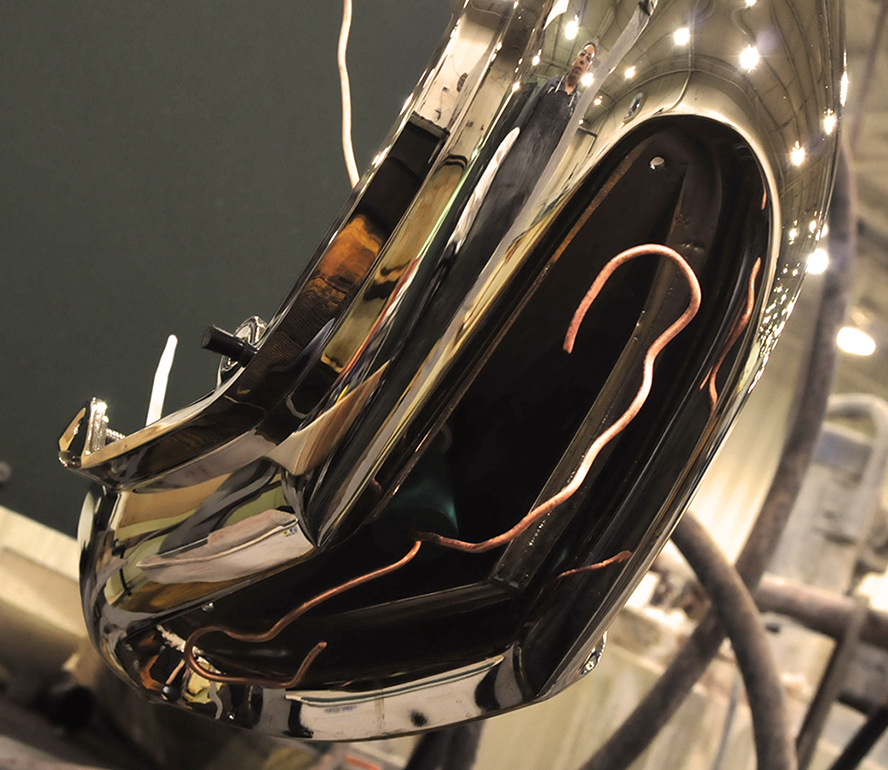
If the part is DA sanded out without any imperfections remaining, the part
is polished to a mirror finish
for nickel and chrome plating.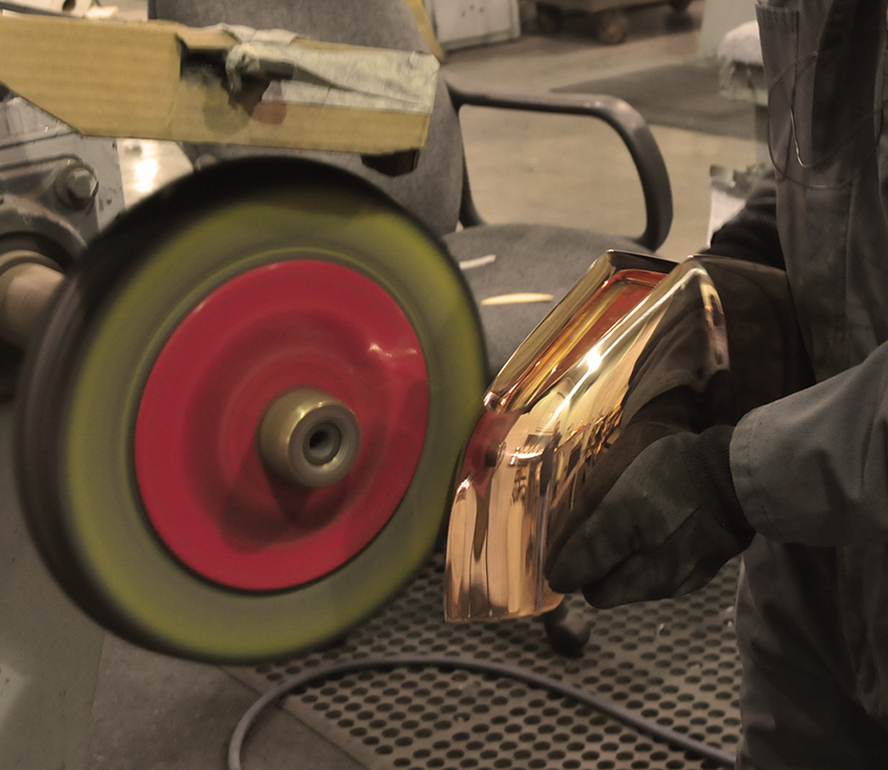
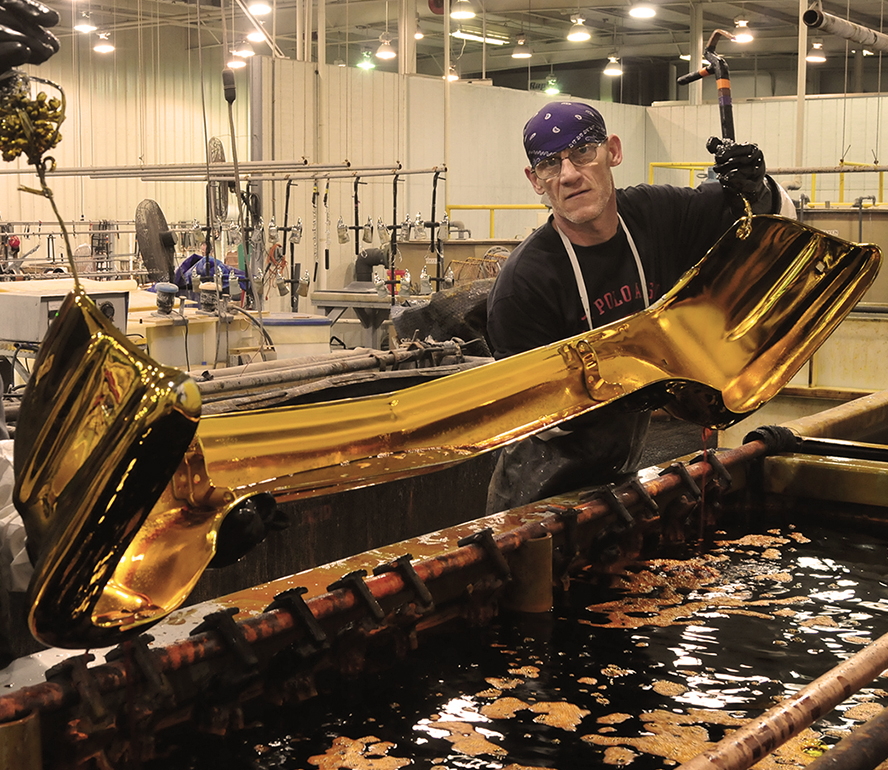
After the polished part is racked and cleaned again; then it's placed in the nickel tank for the required
amount of plating.
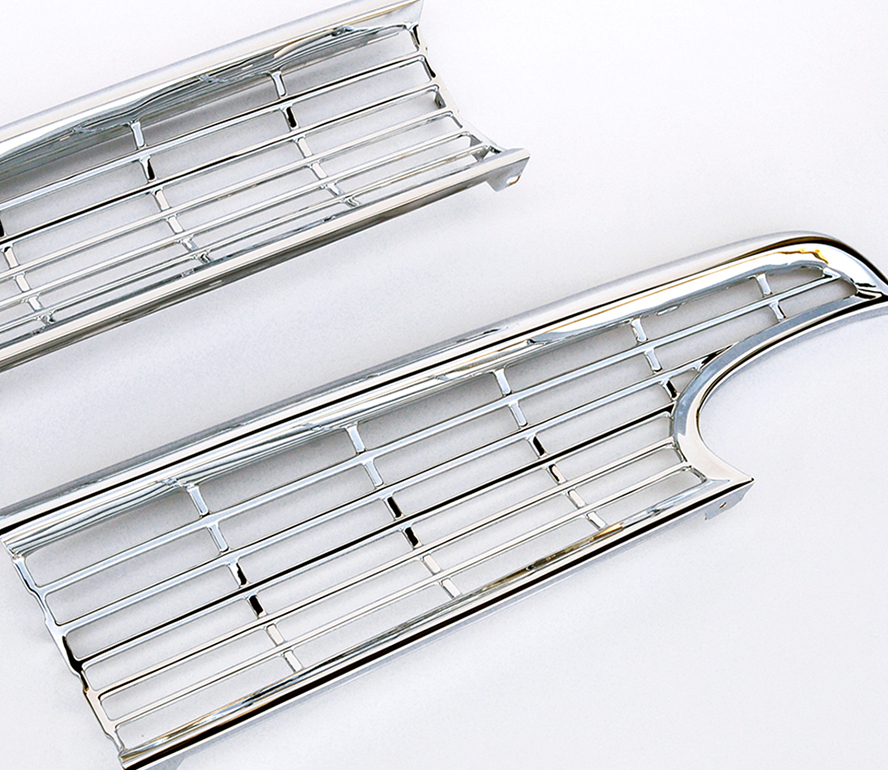
Once finished, if no imperfections were found,the part was ready for chrome.

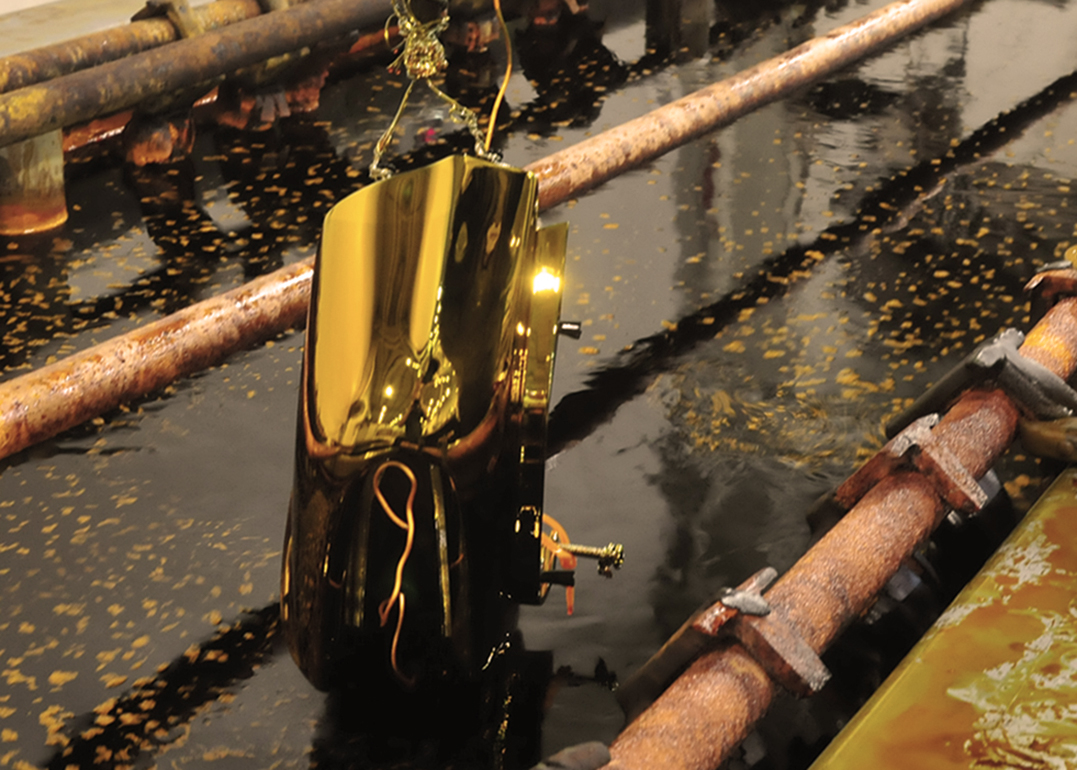
Before the part could be placed in the chrome tank, the part is
outfitted with an anode
to help throw chrome plating in to the deep areas of the part.This is done to avoid any nickel shading.
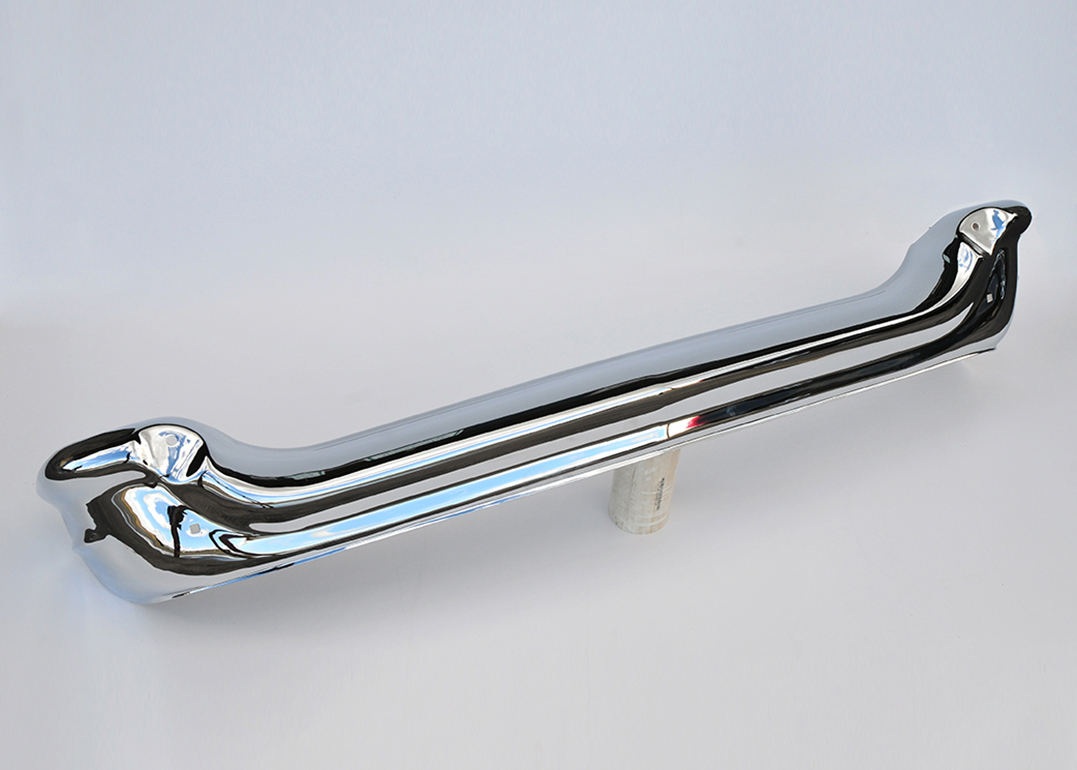
Removed from the chrome (anode removed), the part
is thoroughly rinsed
and cleaned to make sure the plating is flawless.If the part passes QC, it is ready to ship.
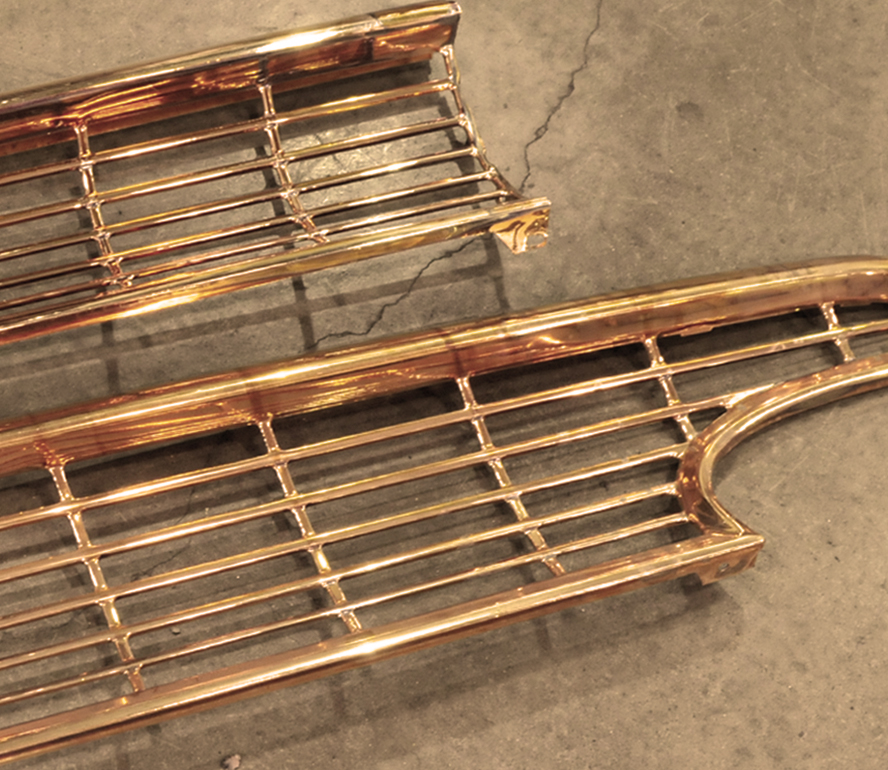
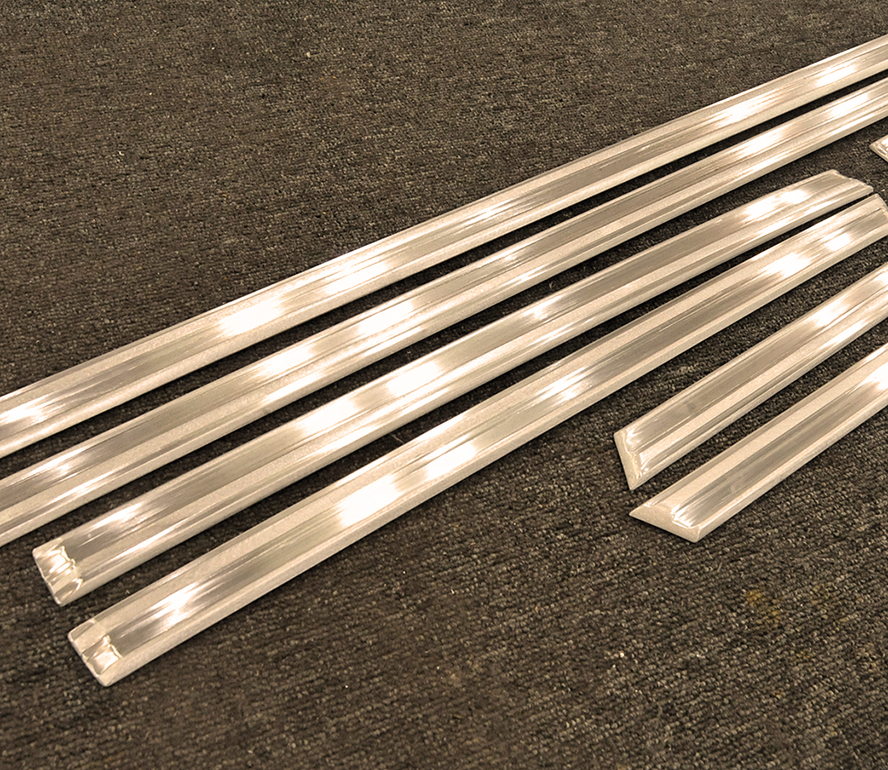
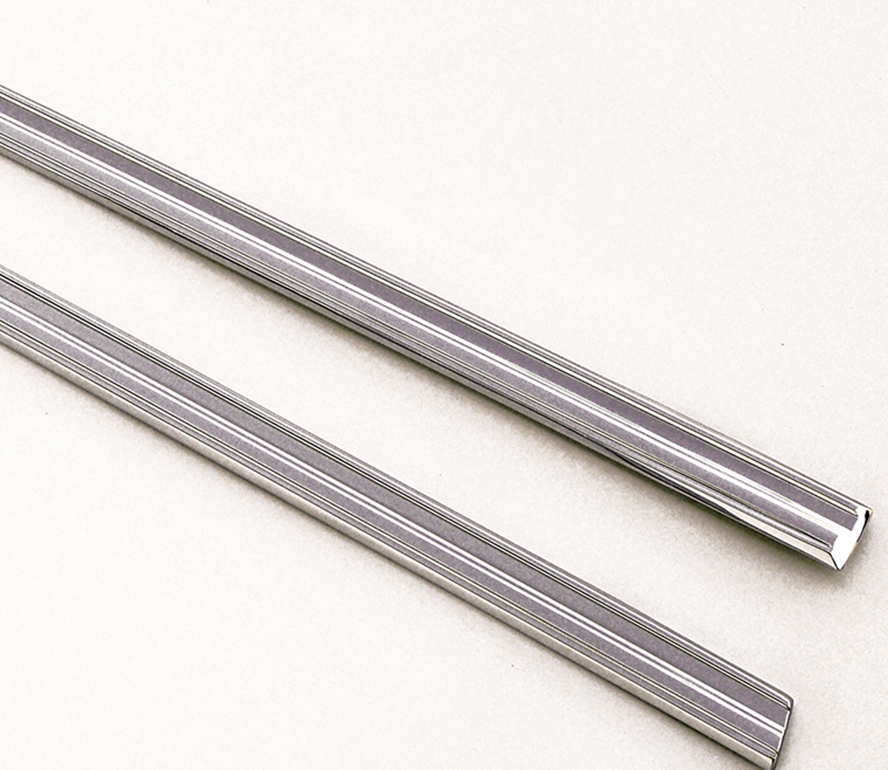
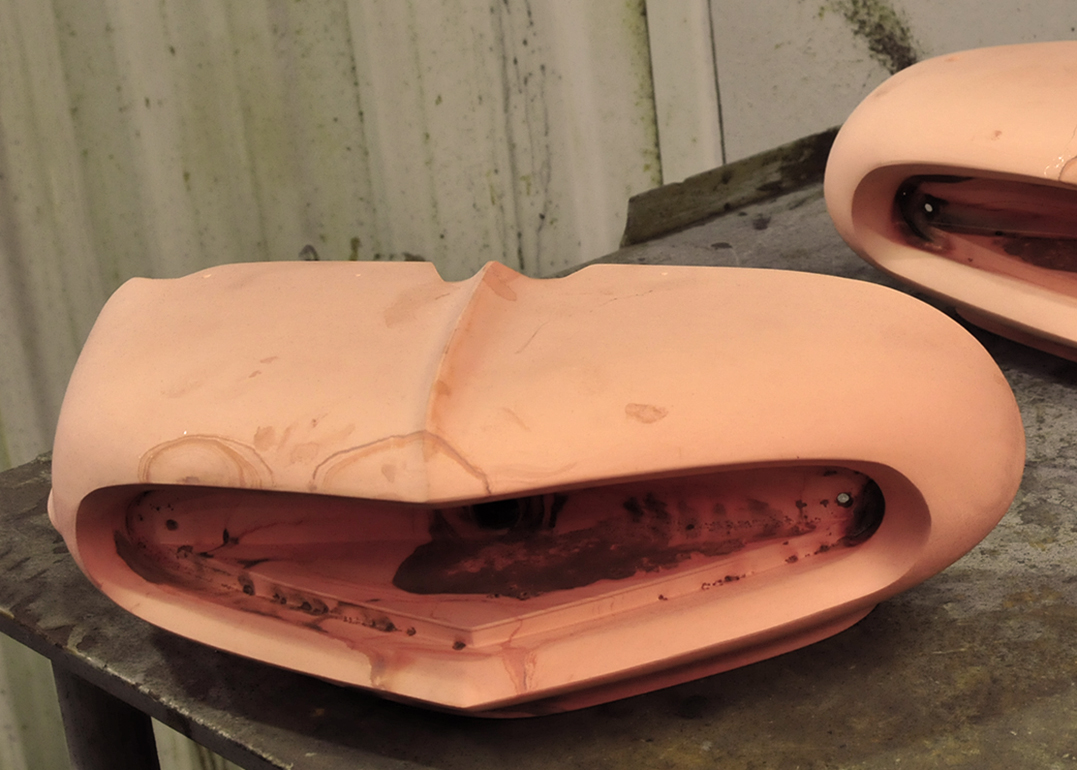
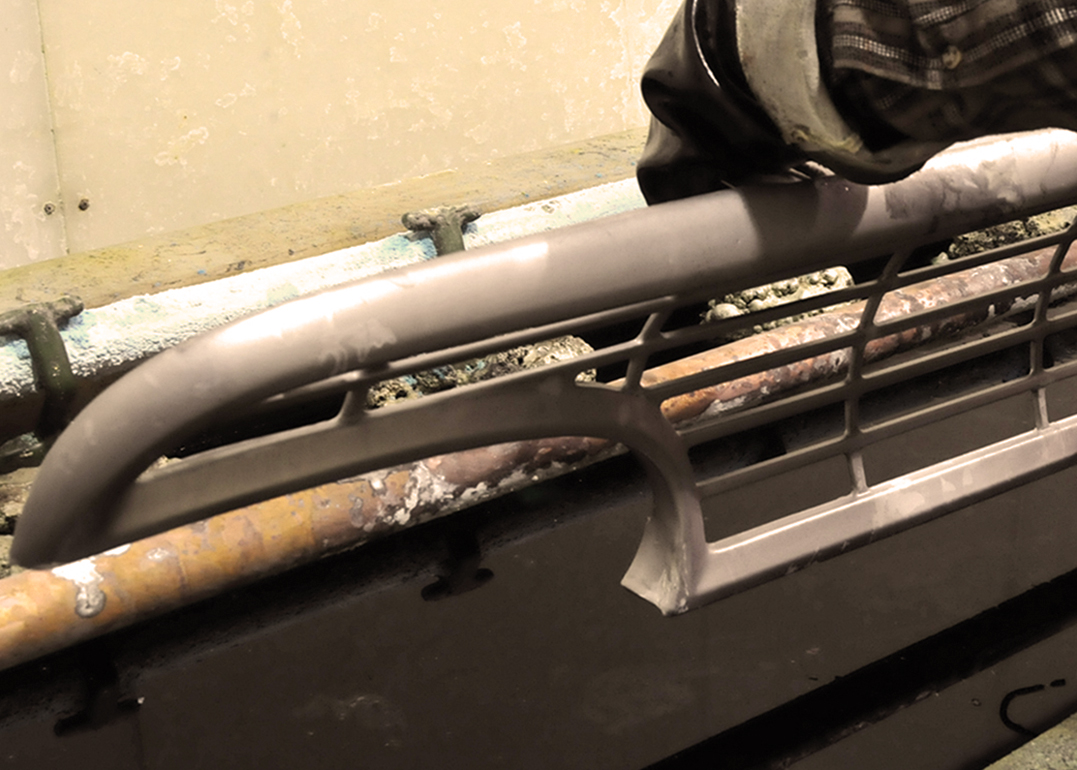
It's easy to see that pitting is no longer an issue with these pot metal parts.
The finished product is better
than it was when new.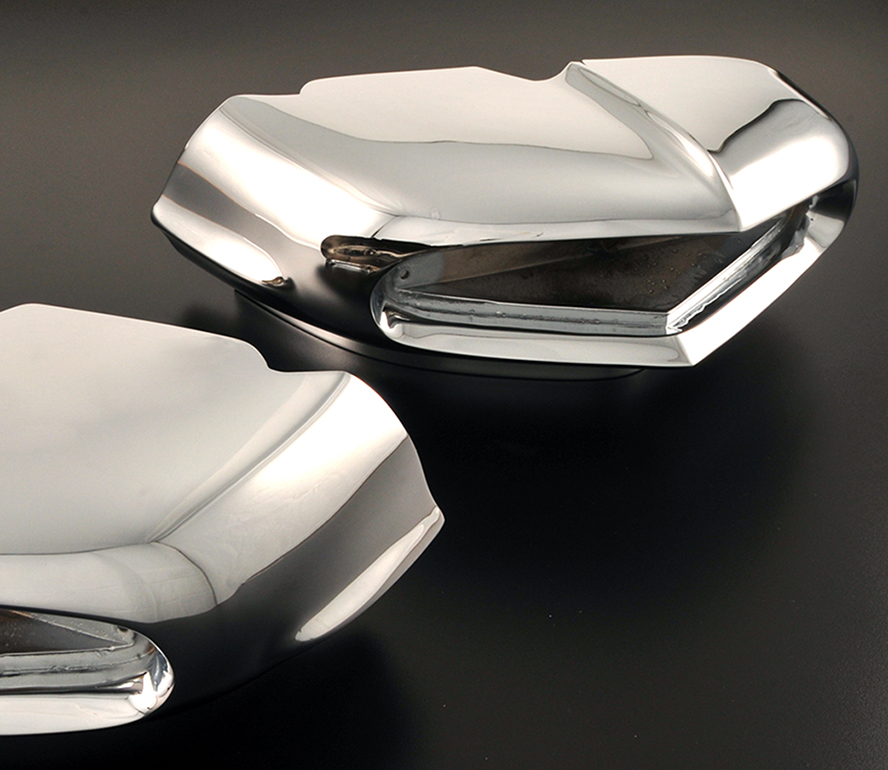
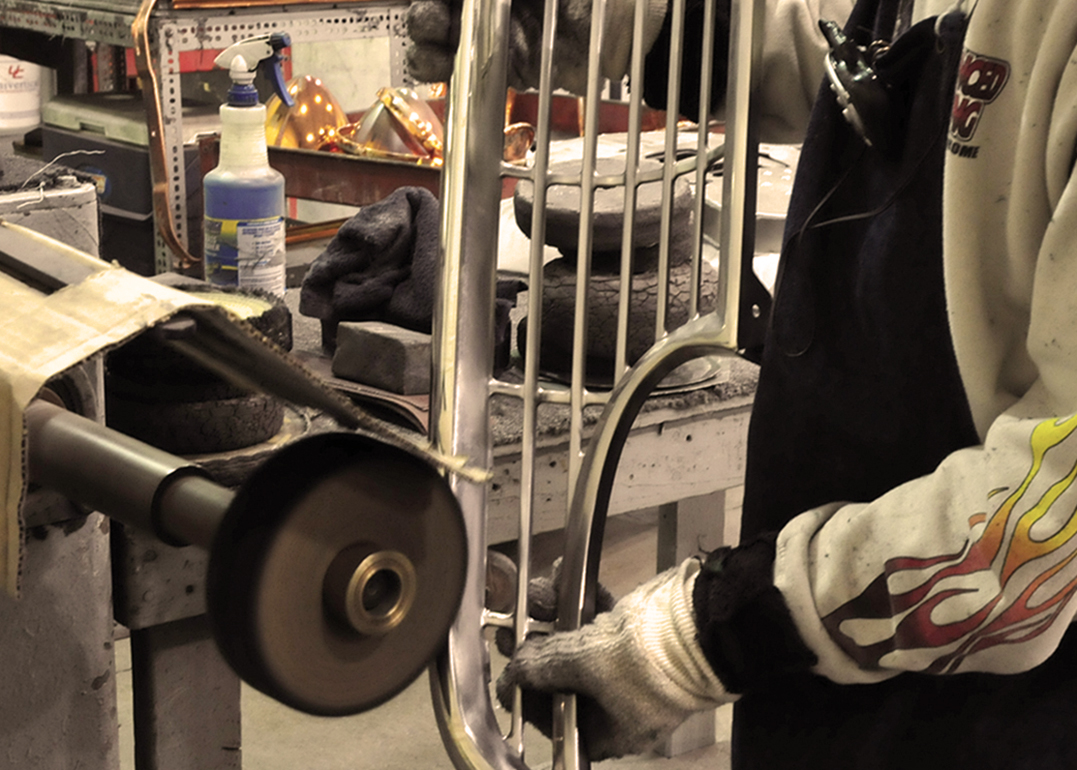
STEEL
First we must electro-strip the parts
to bare metal
After electro-stripping, we will alsoglass bead blast the parts, front and
back, for a clean starting surface.
The part is checked for any damage, dents, or dings. The polisher will then
straighten & remove damage
as best possible.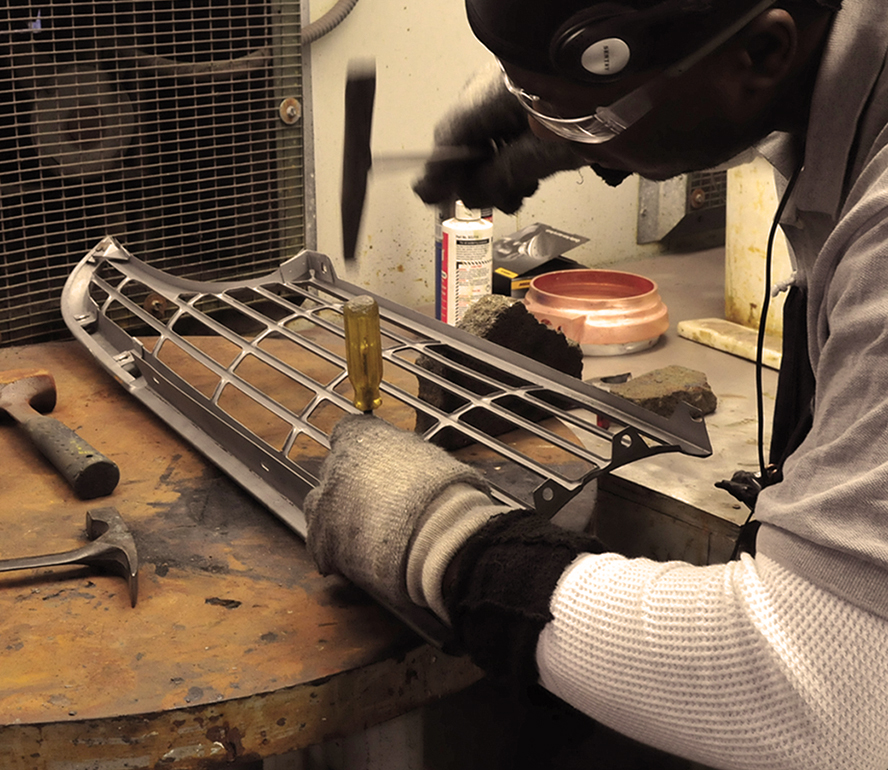
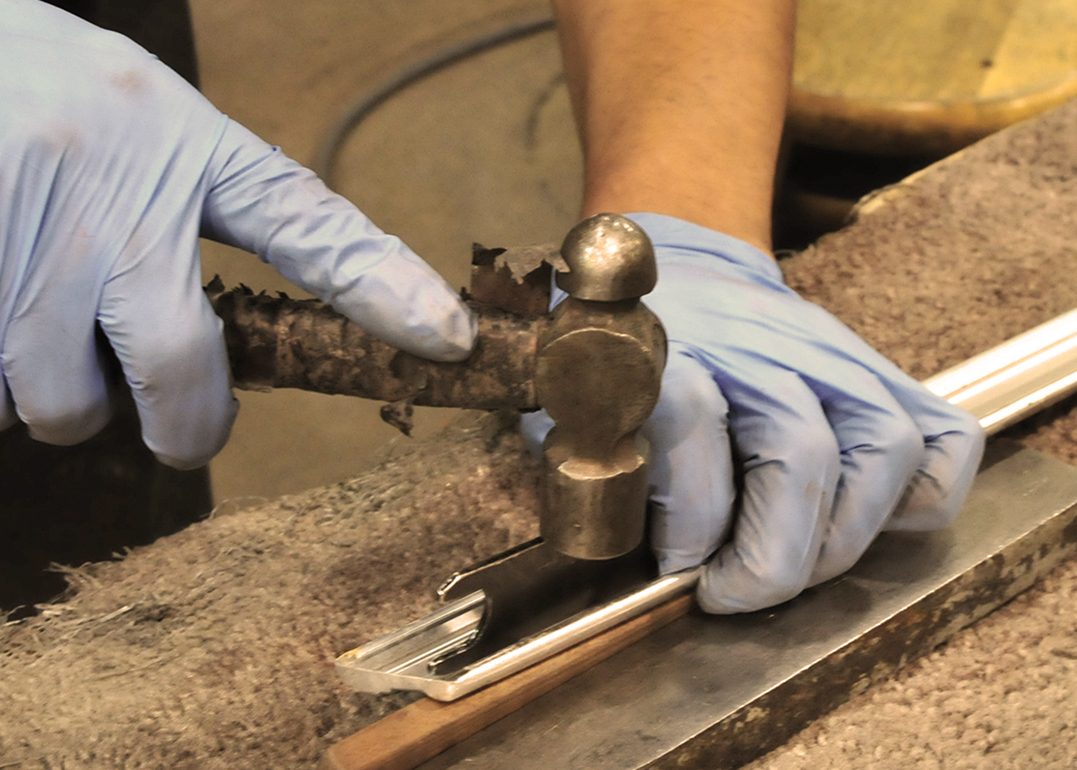
With high spots knocked down and low spots
hammered out
a light grind is applied to the surfaces tolevel out the material, and to see what
additional straightening is required.
The same principles exercised in the previous step are used on a smaller
scale to straighten/repair
the smaller surfaces areas of the part.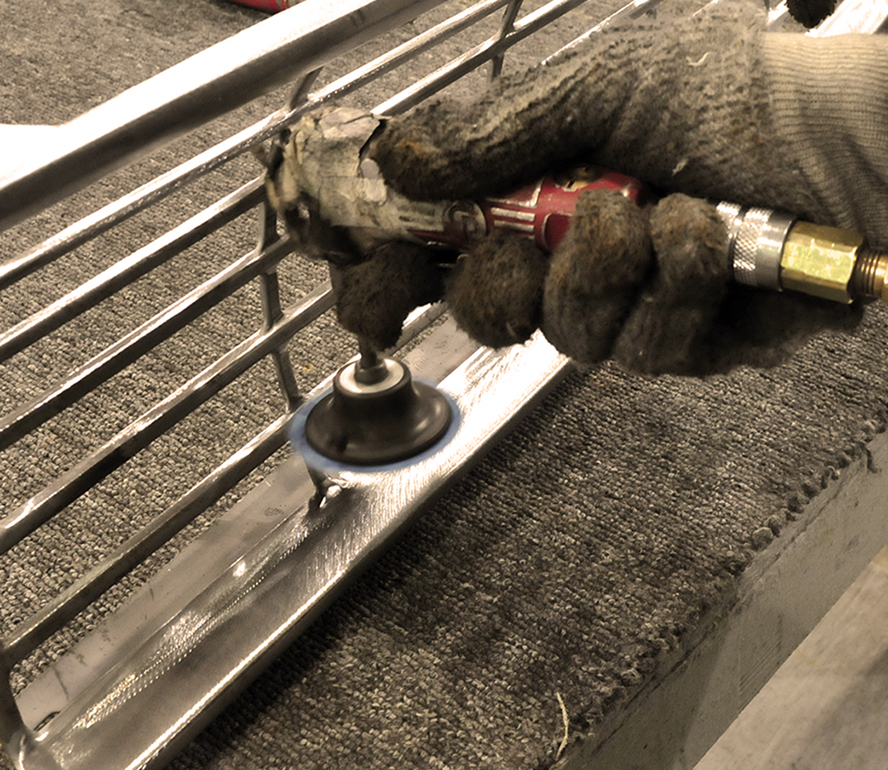
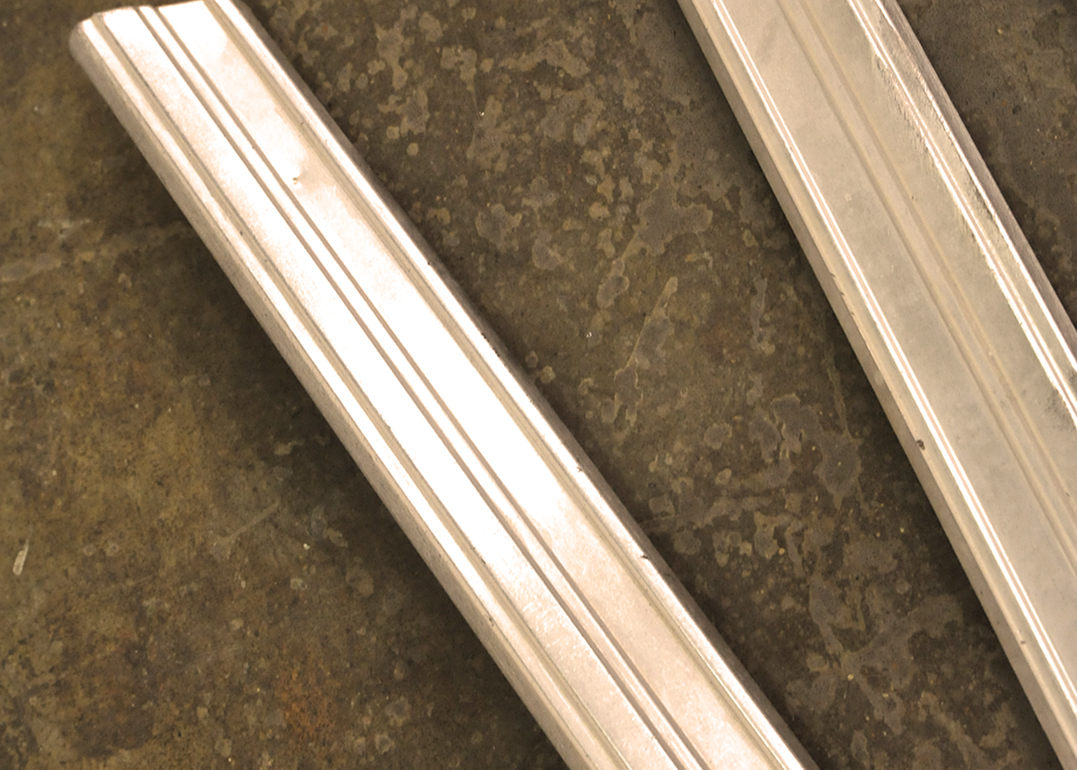
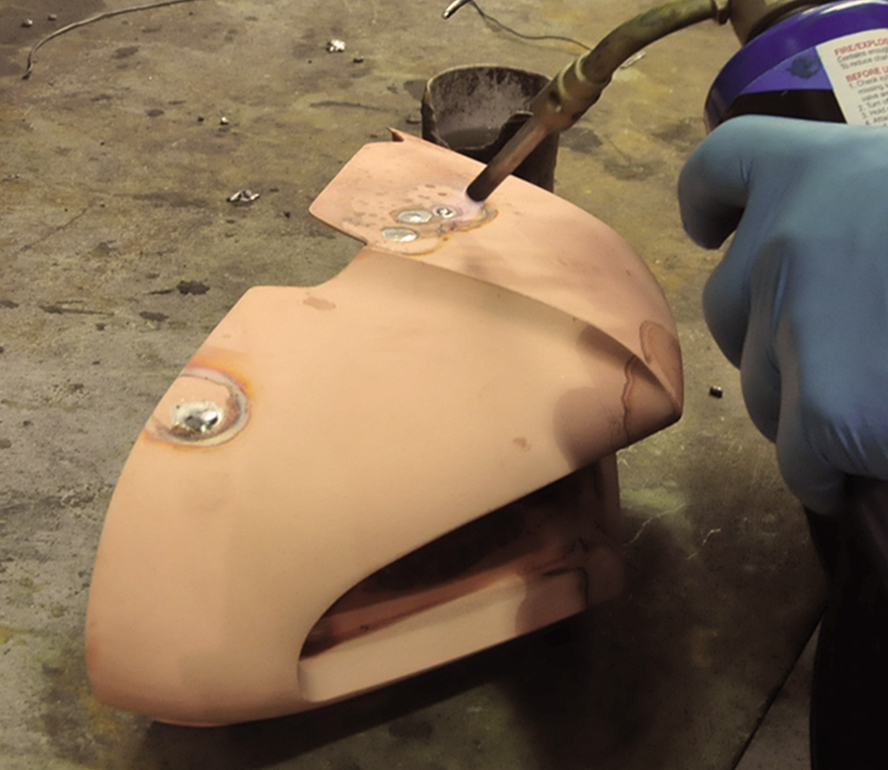
Any damage or imperfections that are not fully removable with hammering and grinding are
filled with solder.
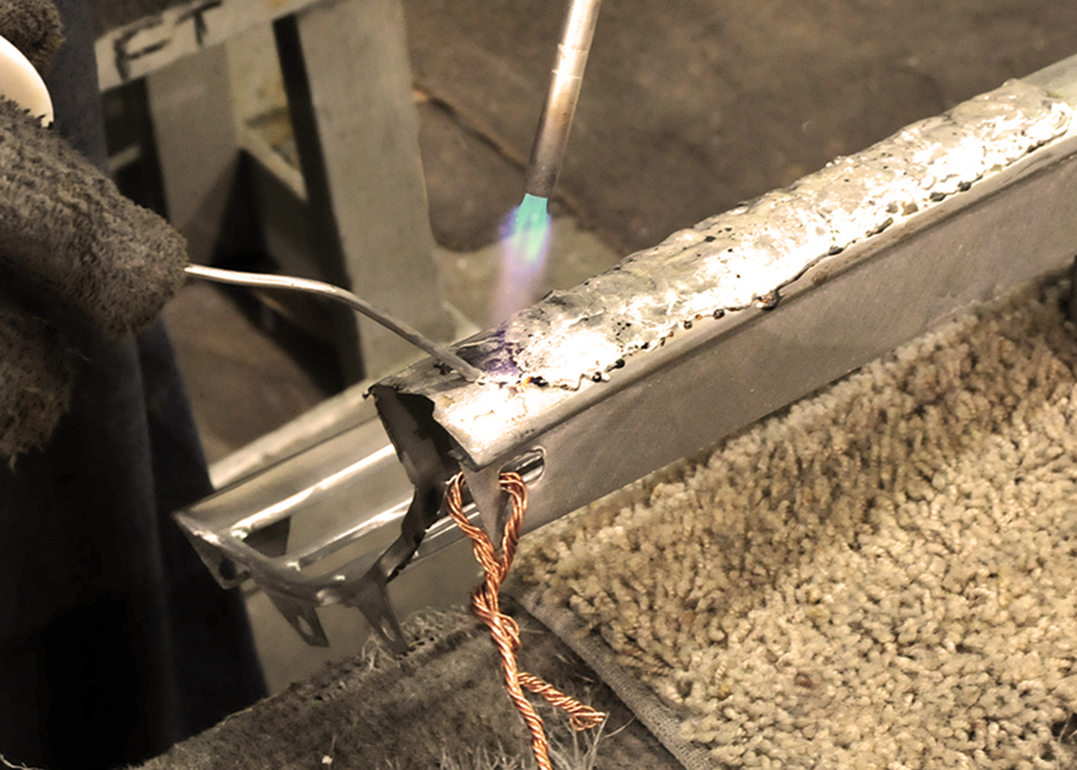
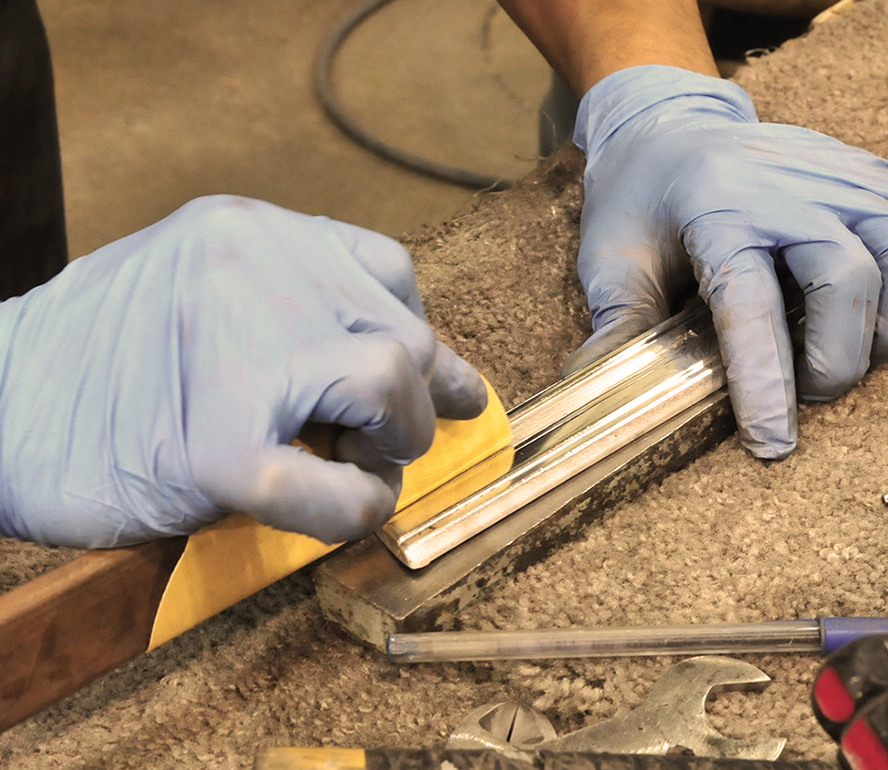
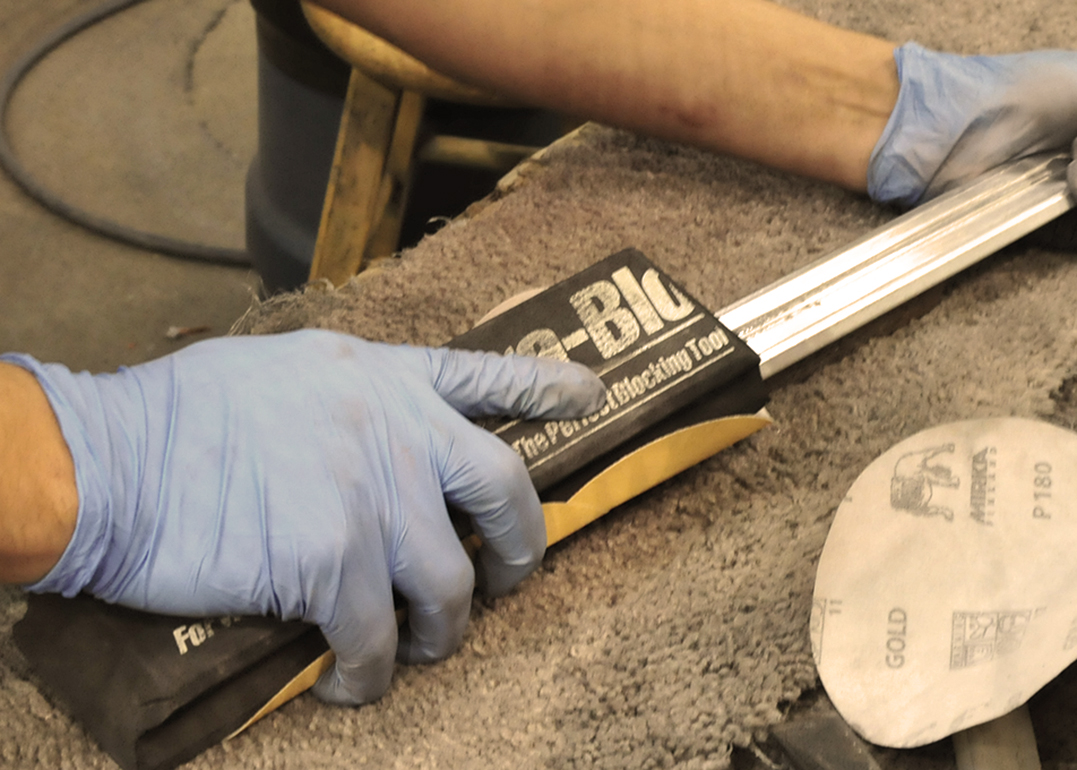
An air file is used to level off the surface and make sure it is as
flat and straight as possible.
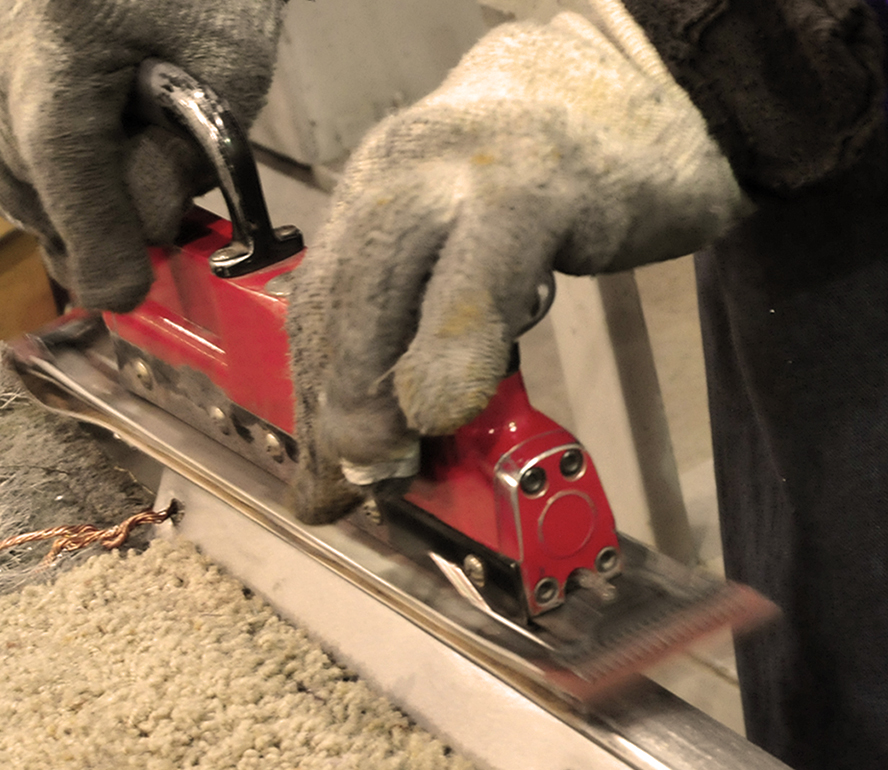
Now that the repairs and straightening have been made, the grille is DA sanded, followed by being
polished to a sisal finish.